
Block time & add time off
Requirements
- Available on: All plans
- Device access: Web & mobile browser
- Permission: Owner or Manager
Stop bookings from landing when you're not available. Use a Personal Block for short interruptions like lunch or training, and Time Off for a staff member's vacation, sick day, or personal day.
How to add a personal block
-
On the Calendar, click New Booking (or click the empty slot you want to block) to open the event drawer.
-
Set Event type to Personal Block.
<!-- CAPTURE: route=/calendar | login=owner | state=event drawer, Personal Block selected | highlight=Event type selector | viewport=1440x900 -->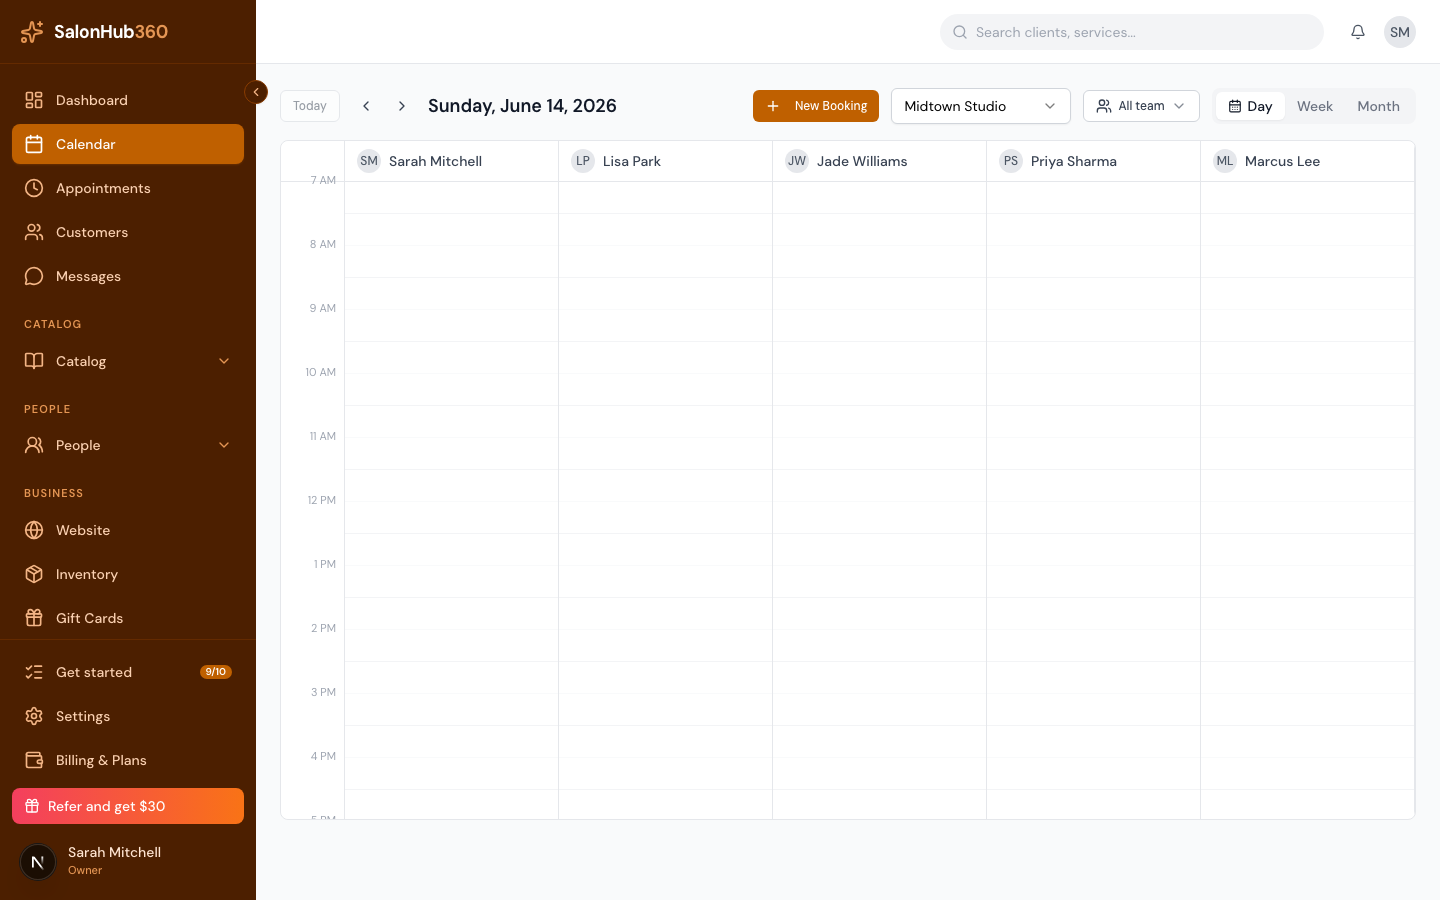
-
Give the block a name (for example, "Staff lunch" or "Training"), then set the Start date and End date.
-
Under Who's blocked, choose Salon-wide to block every provider, or One staff member to block just that person while the rest of the team stays bookable.
<!-- CAPTURE: route=/calendar | login=owner | state=personal block form filled | highlight=Who's blocked options | viewport=1440x900 -->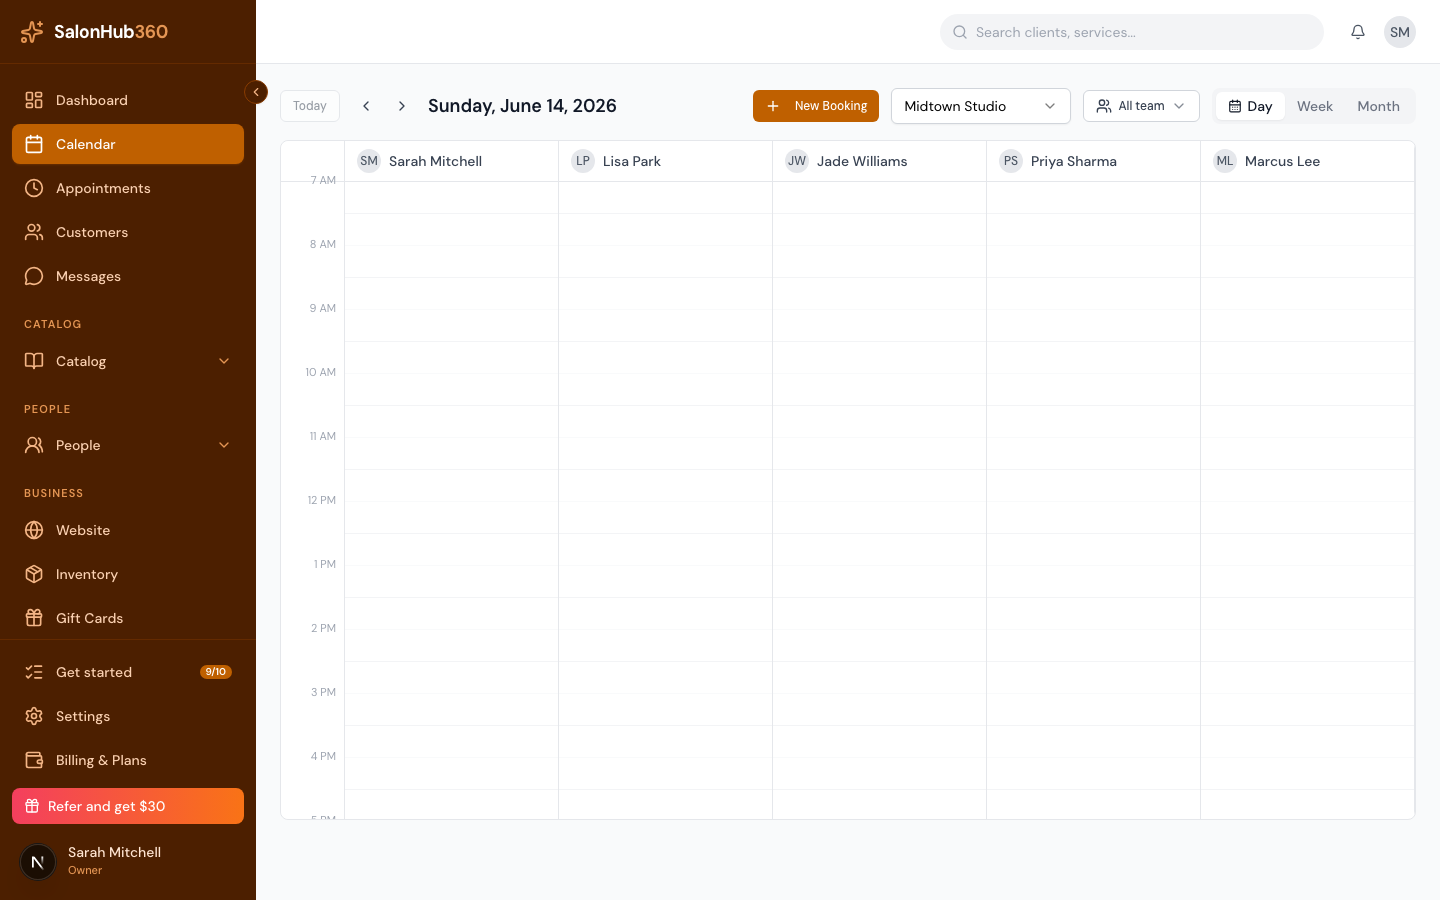
-
If you have multiple locations, leave Apply to all locations off to block just this location, or turn it on to block every location. Add a Reason if you like, then save.
Note: Blocks stop new bookings during that window — they don't move or cancel appointments that are already on the calendar. Handle existing bookings separately if needed.
How to add time off
-
Open the event drawer and set Event type to Day Off / Time Off.
<!-- CAPTURE: route=/calendar | login=owner | state=event drawer, Time Off selected | highlight=Event type selector | viewport=1440x900 -->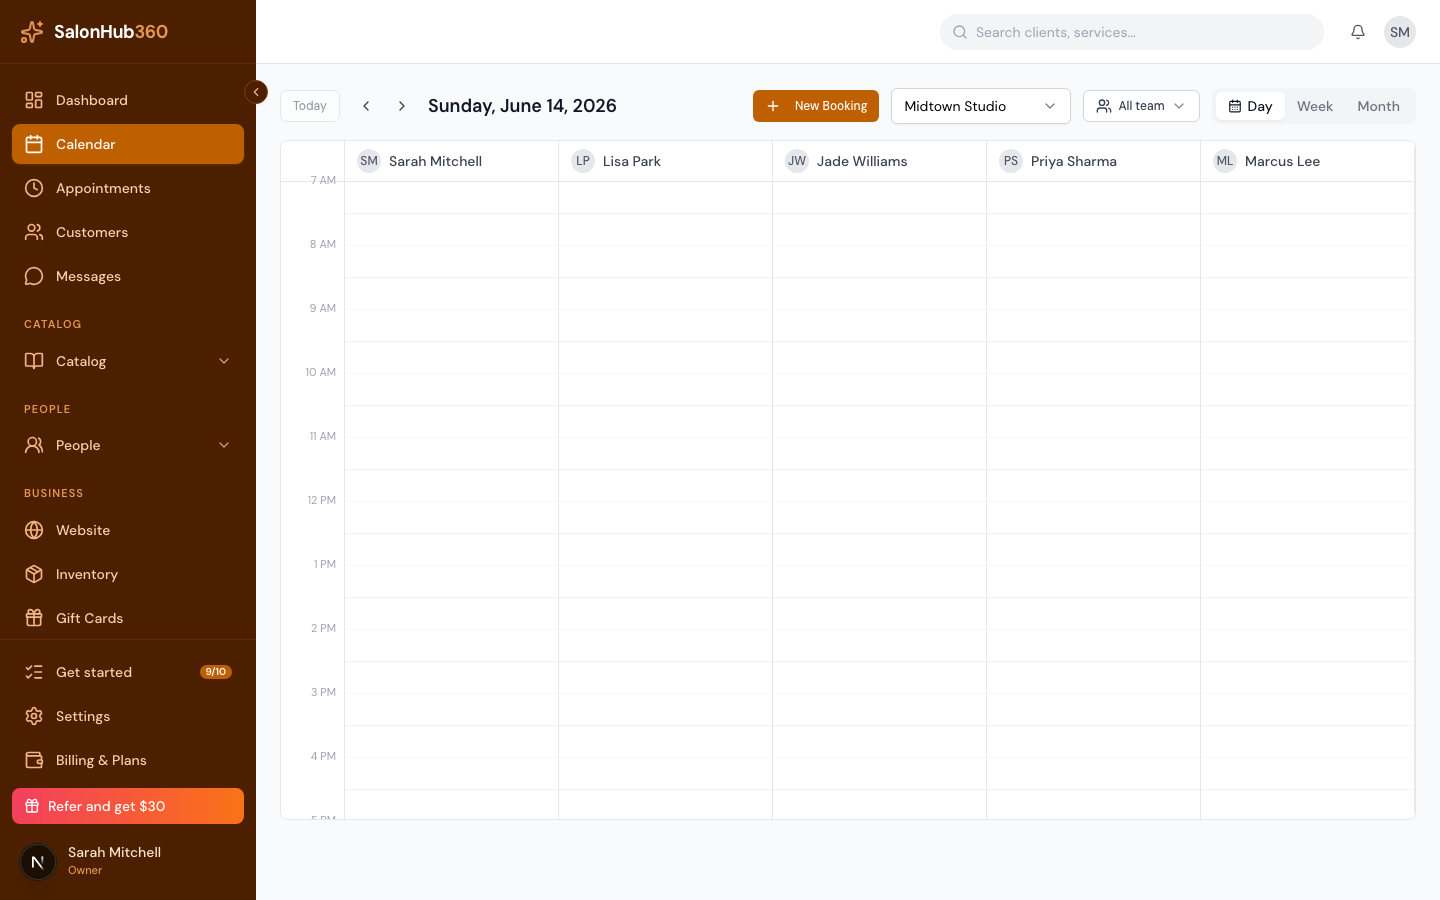
-
Pick the Staff member and a Type — Vacation, Sick, Personal, Unpaid, or Other.
-
Set the Start date and End date. Leave All day on for full days off, or turn it off to set Start and End times for a partial day.
<!-- CAPTURE: route=/calendar | login=owner | state=time off form filled | highlight=All day toggle | viewport=1440x900 -->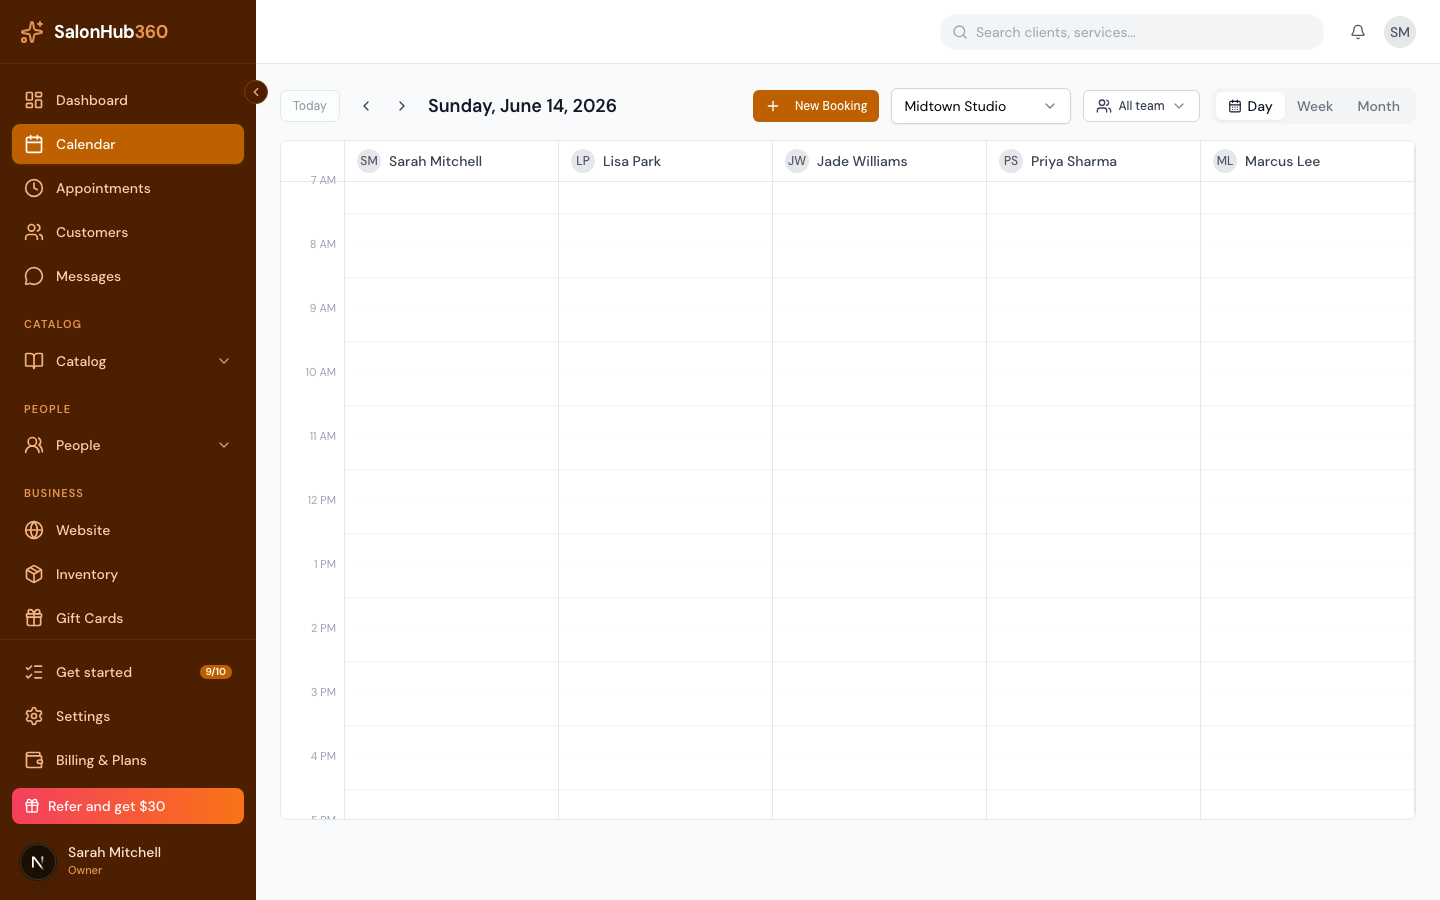
-
Add a Reason if you'd like, then click Submit time off. That staff member becomes unavailable for booking — online and in-app — for the period.
Tip: Staff can also view and manage their own time off from My Schedule. See Manage time off.
Related articles