
Use the waitlist
Requirements
- Available on: All plans
- Device access: Web & mobile browser
- Permission: Owner or Manager
When a client wants a slot that isn't open, add them to the waitlist with their preferred provider, days, and times. You'll have their request on hand to book the moment something frees up.
How to add a client to the waitlist
-
On the Calendar, click New Booking to open the event drawer.
-
Set Event type to Waitlist Entry.
<!-- CAPTURE: route=/calendar | login=owner | state=event drawer, Waitlist Entry selected | highlight=Event type selector | viewport=1440x900 -->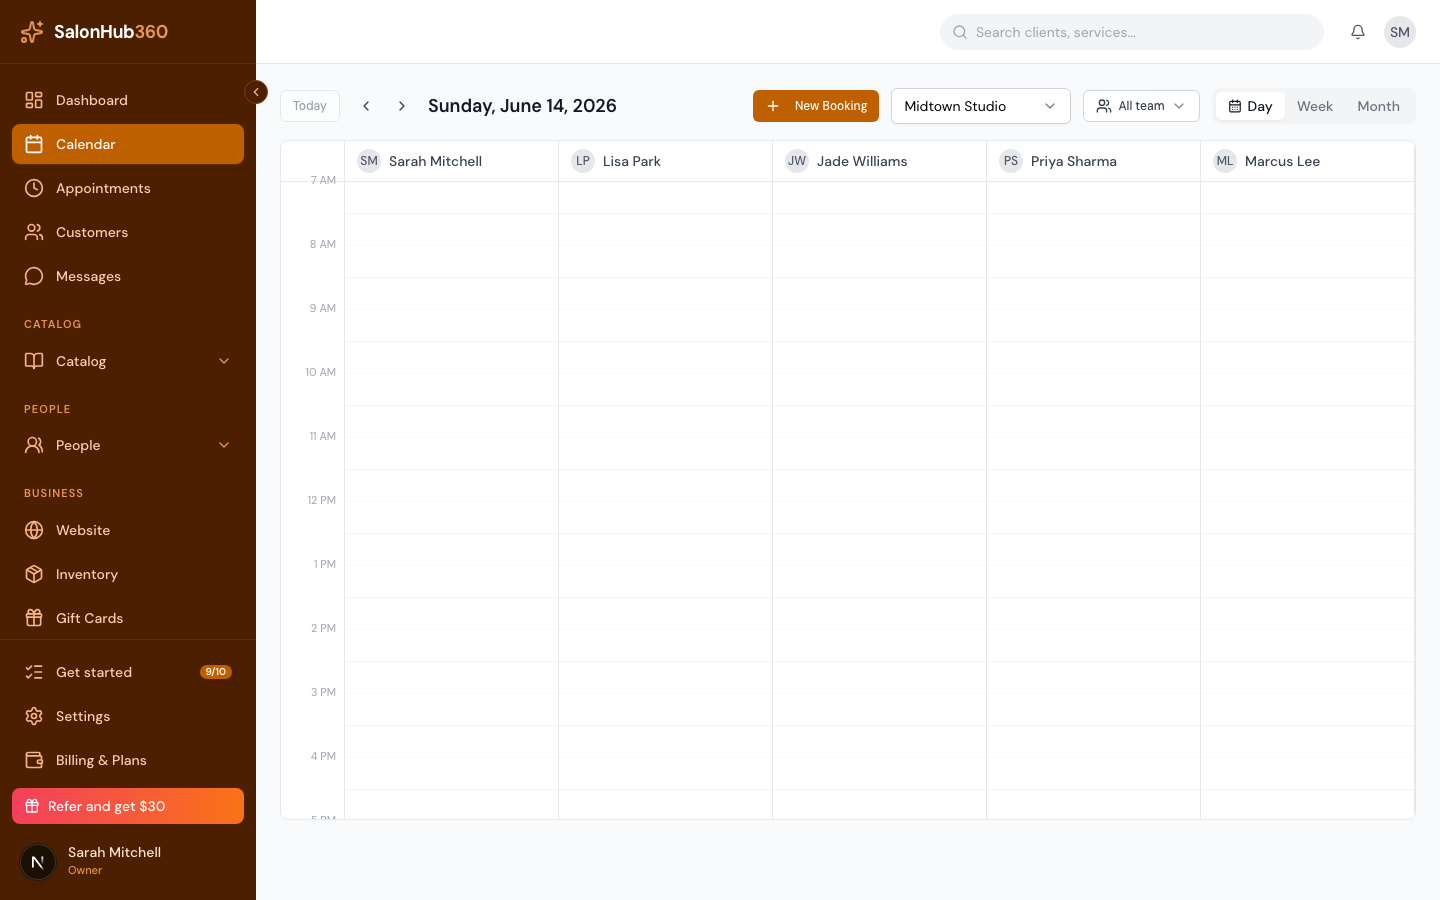
-
Choose the Client and the Service they want.
-
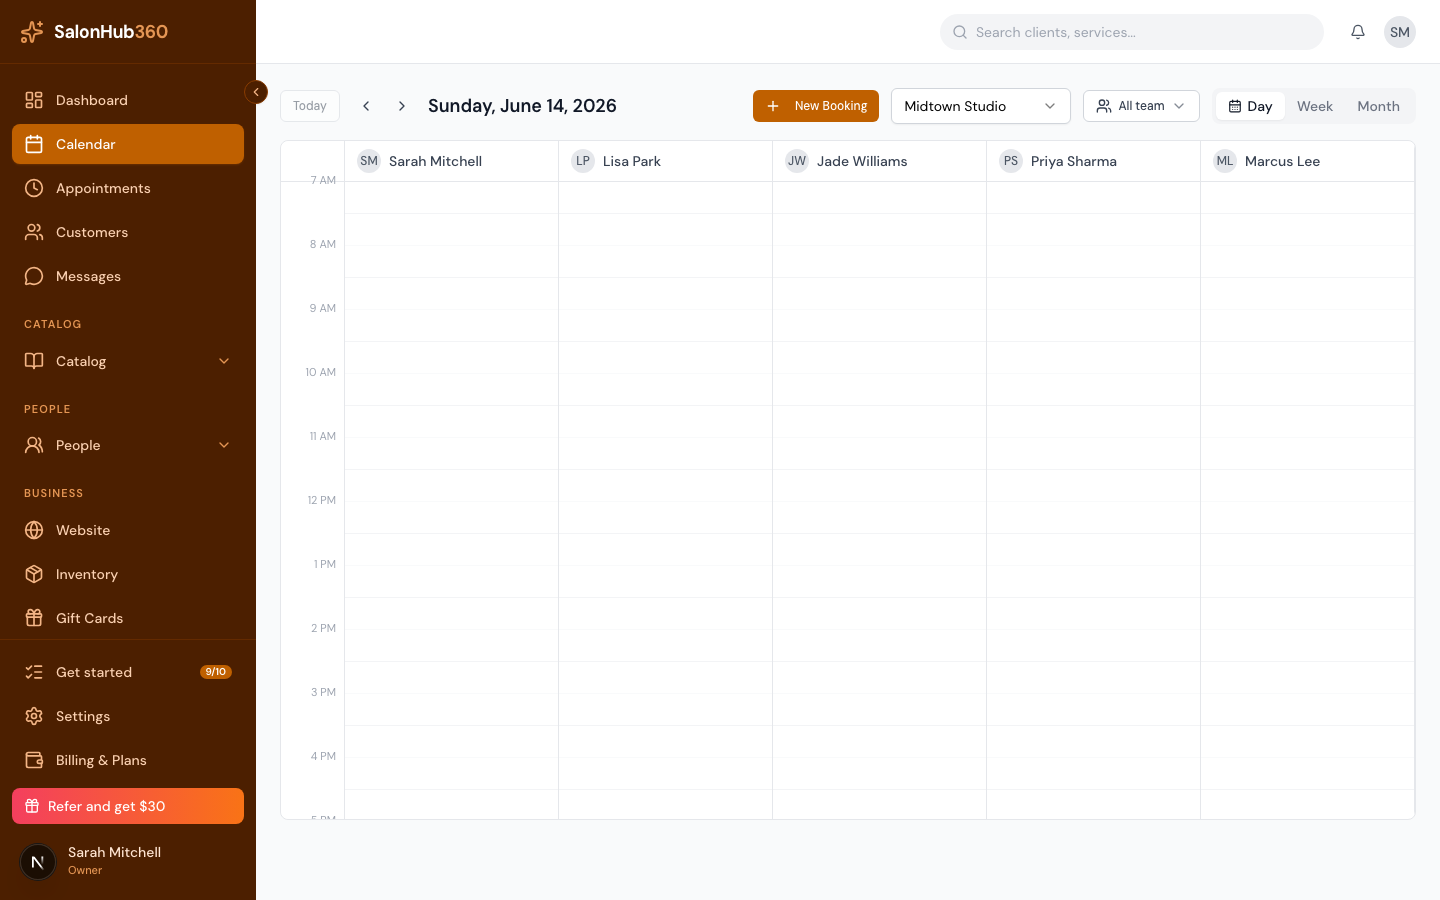
Set their preferences so you know what to offer:
- Preferred provider — pick a specific team member, or leave it on Any provider.
- Window starts and Window ends — the date range they're open to.
- Earliest time and Latest time — the part of the day that works for them.
- Preferred days — tap the weekday chips (Sun–Sat) that suit them.
-
Click Add to waitlist. The client is saved with a Waiting status.
How waitlist statuses work
A waitlist entry moves through these stages:
| Status | What it means |
|---|---|
| Waiting | On the list, not yet offered a slot |
| Notified | You've reached out about an opening that matches |
| Booked | Converted into a real appointment |
When a matching slot opens, reach out to the client, then book them like any other appointment. Once they're booked, the entry is marked Booked and clears off the list.
Tip: Booking a waitlisted client works exactly like a normal booking — see Book an appointment from the calendar.
Related articles