
Add & organize your services
Requirements
- Available on: All plans
- Device access: Web & mobile browser
- Permission: Owner or Manager
Add the services you offer so clients can book them online and your team can schedule them on the calendar. Your service menu drives your booking page, your prices, and how long each appointment takes.
How to add a service
-
In the left menu, open Services, then click Add service.
<!-- CAPTURE: route=/services | login=owner | state=services list with a few services | highlight=Add service button | viewport=1440x900 -->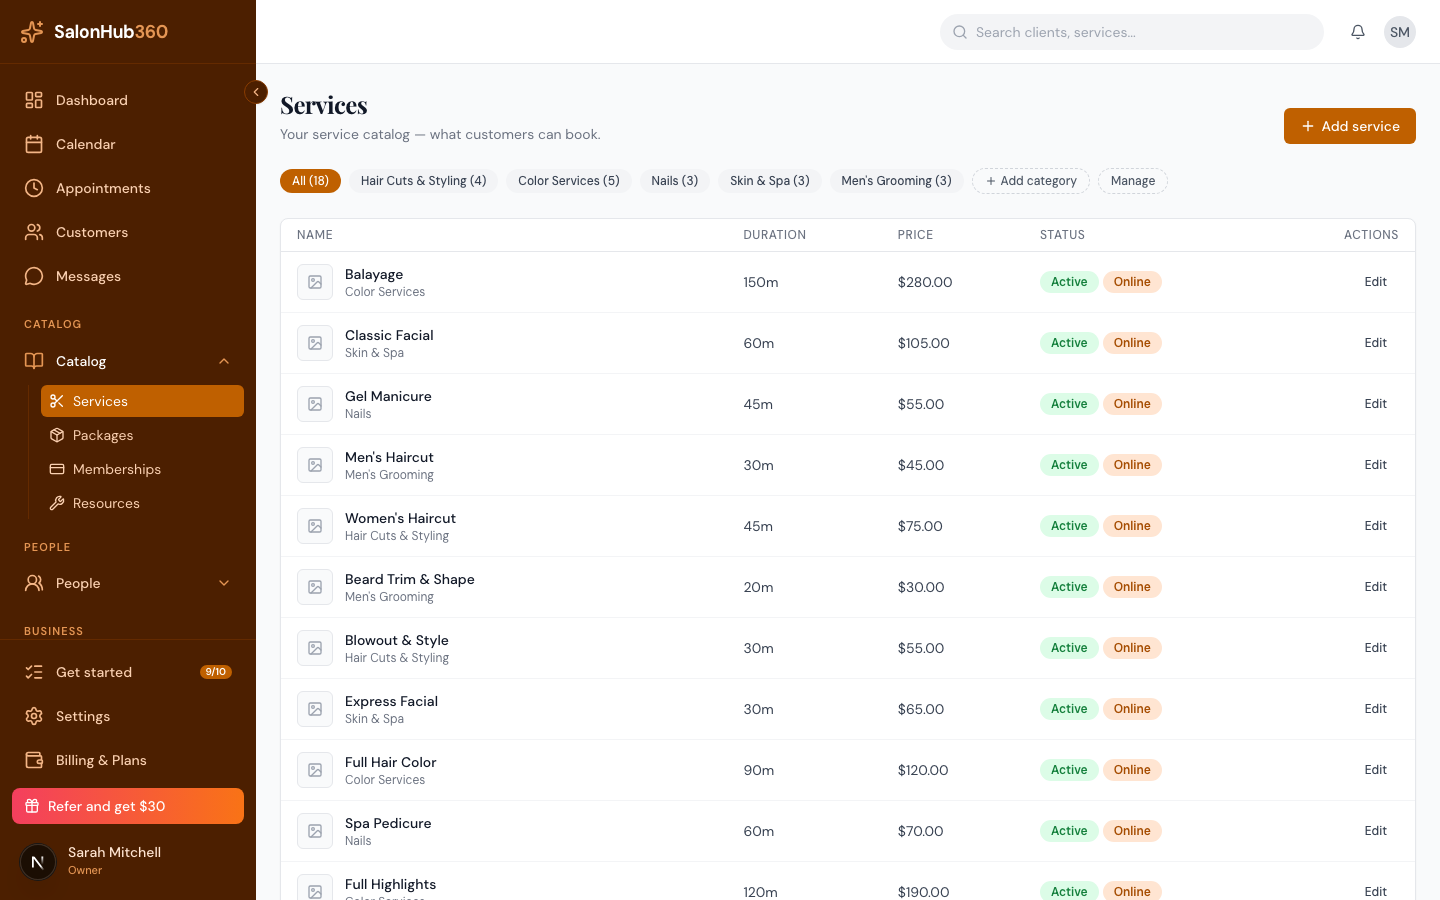
-
Fill in the Basic details: a Name, an optional Description (shown on your booking page), a Category, and a Calendar color from the 10-color palette. You can also add a Service image — upload a file or paste an image URL.
<!-- CAPTURE: route=/services | login=owner | state=new service dialog, Basic details tab | highlight=Name and Category fields | viewport=1440x900 -->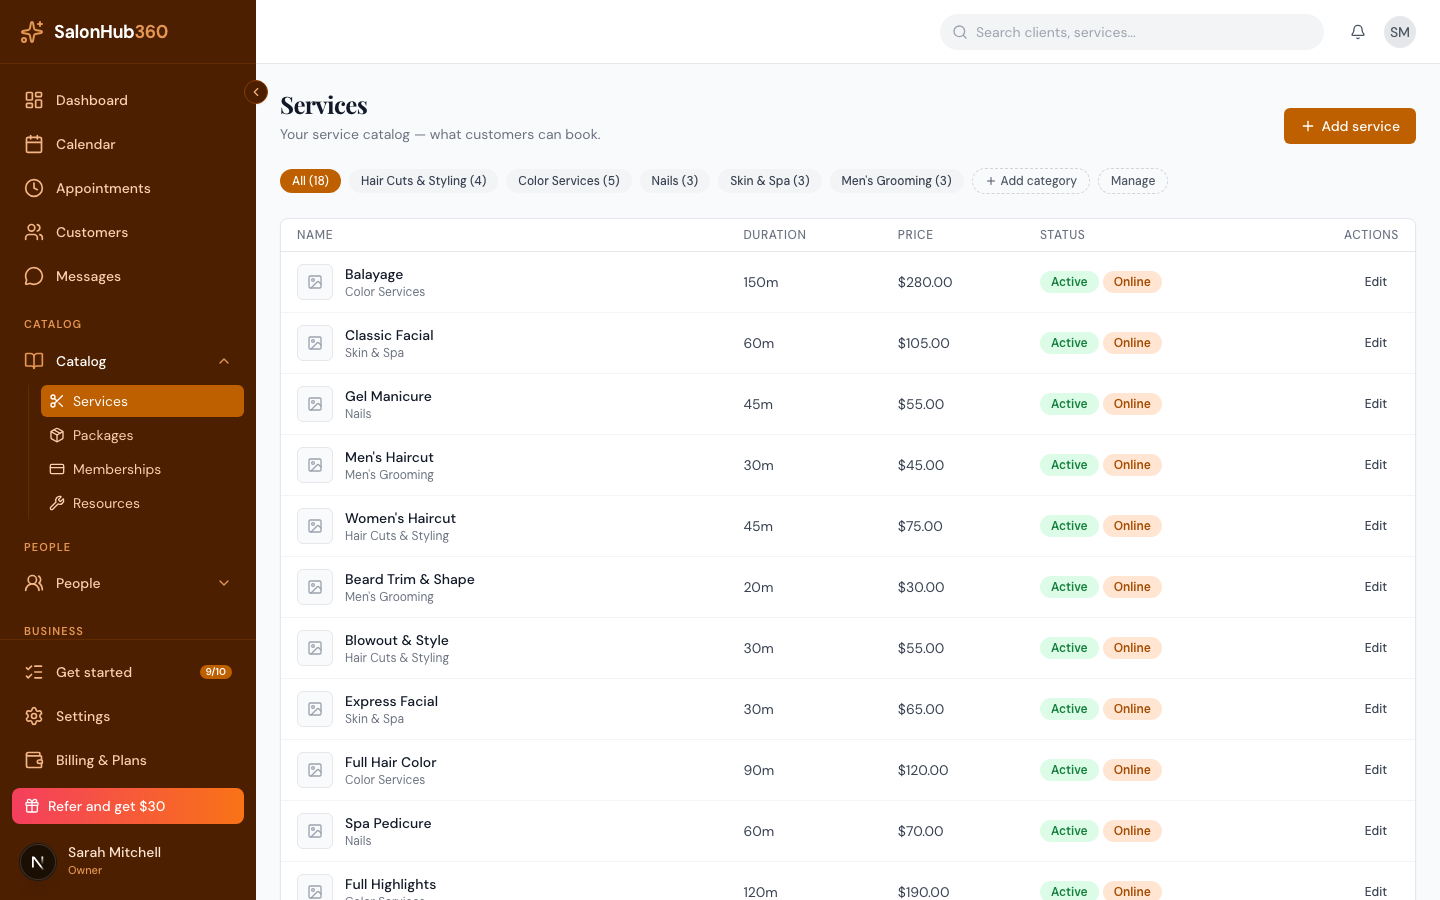
-
Open the Pricing section and choose a Pricing type — Fixed (one price), Starting at (shows "From $X"), or Price hidden. Enter your Price, and turn on Apply sales tax if the service is taxable. To charge a different rate for this one service, set Override tax rate (%).
<!-- CAPTURE: route=/services | login=owner | state=new service dialog, Pricing tab | highlight=Pricing type cards | viewport=1440x900 -->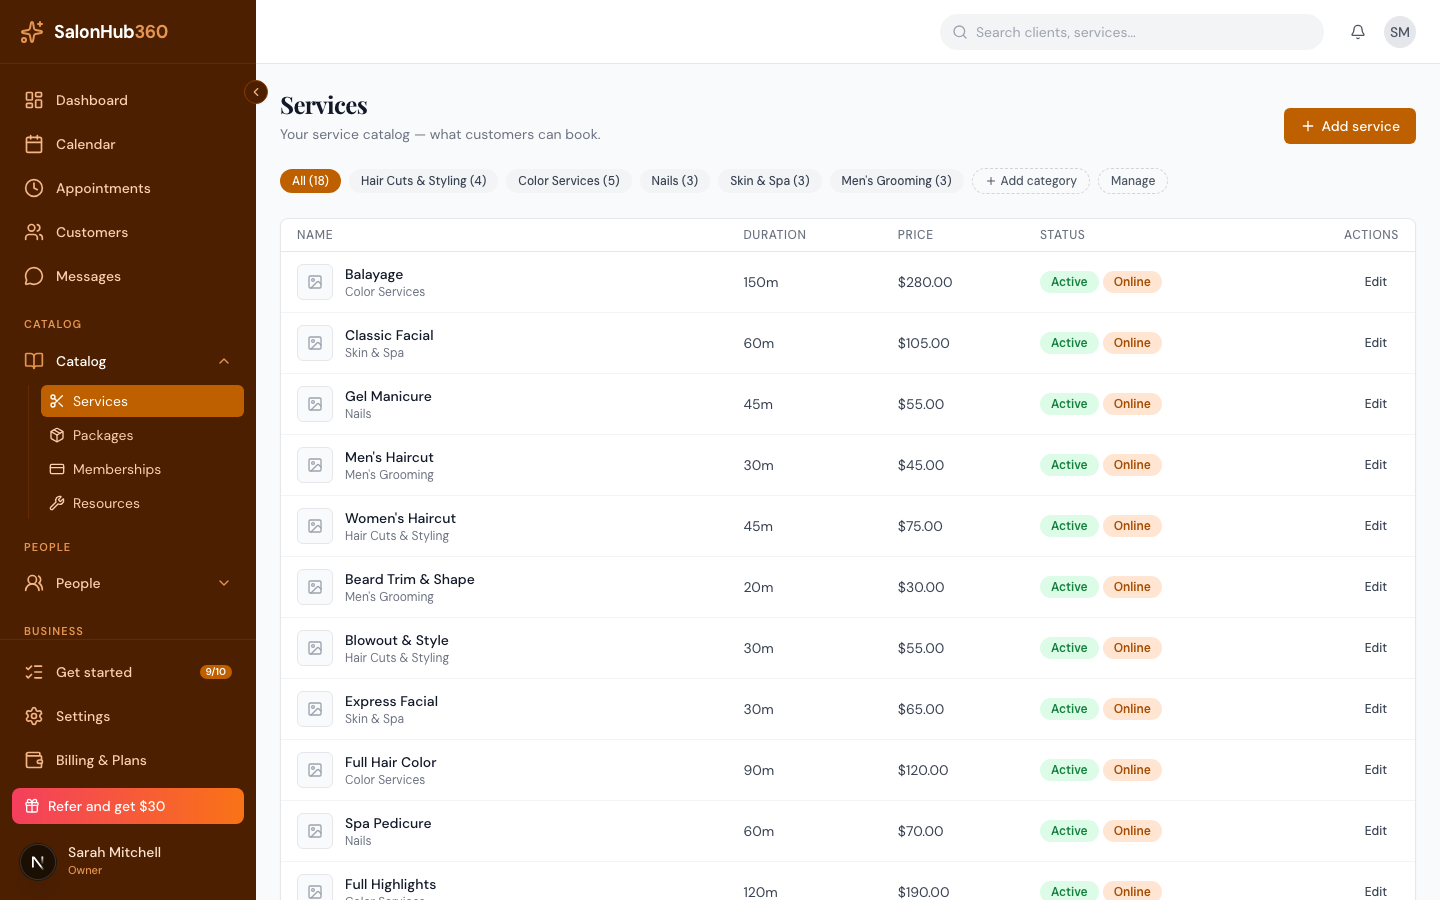
-
Open Duration and set the Total duration (minutes). Optionally add Processing time (when staff are free mid-service, like color developing) and Block / buffer time (cleanup or transit after the service).
<!-- CAPTURE: route=/services | login=owner | state=new service dialog, Duration tab | highlight=Total duration field | viewport=1440x900 -->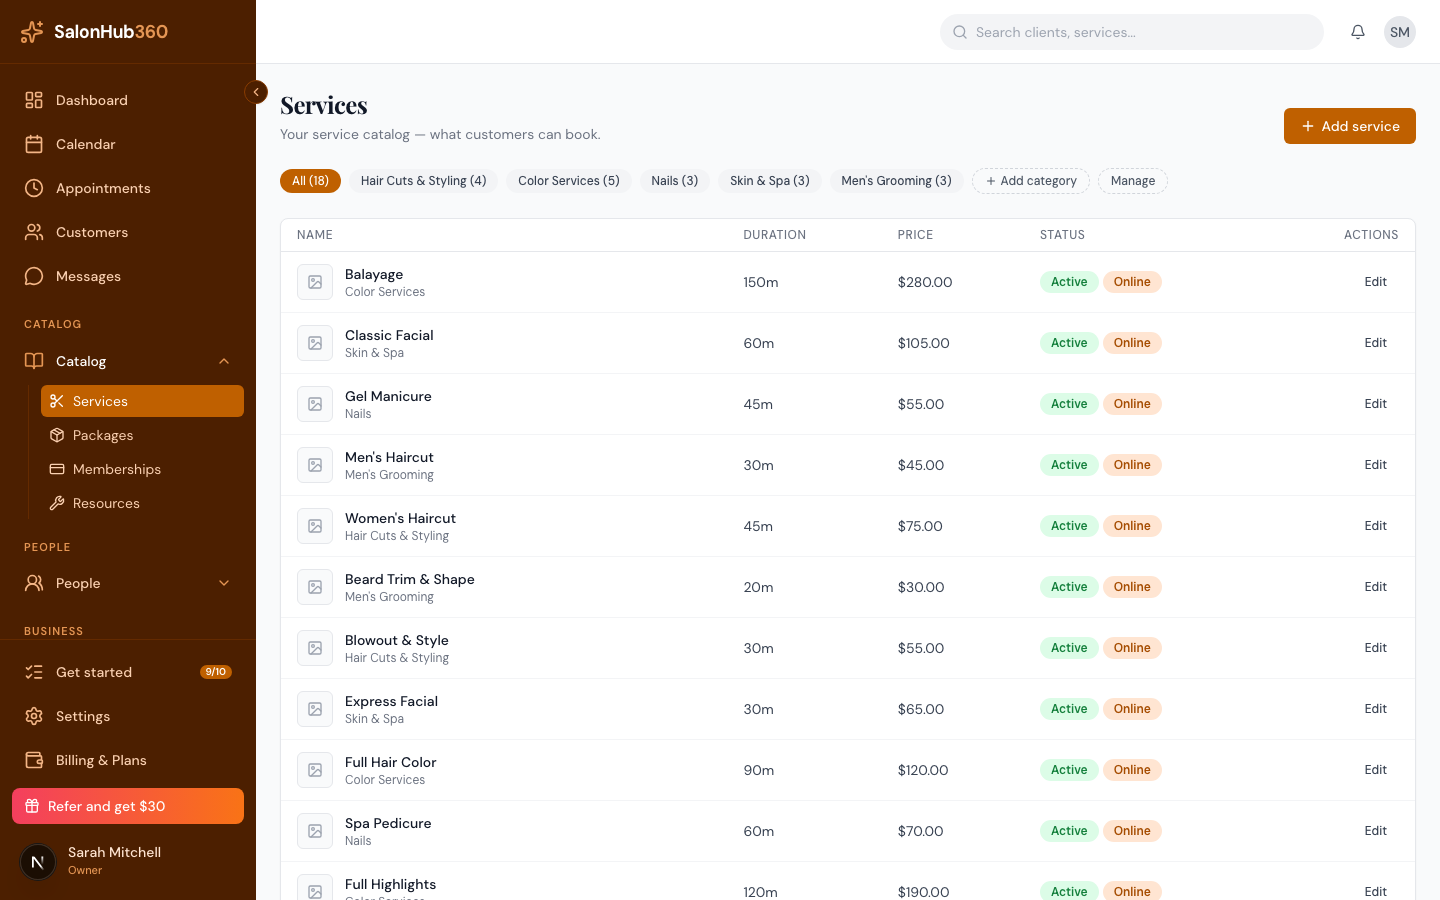
-
Open Booking to control visibility: Active keeps the service in use everywhere, Available to book online lets clients self-book it, and Featured highlights it on your booking page.
<!-- CAPTURE: route=/services | login=owner | state=new service dialog, Booking tab | highlight=Booking toggles | viewport=1440x900 -->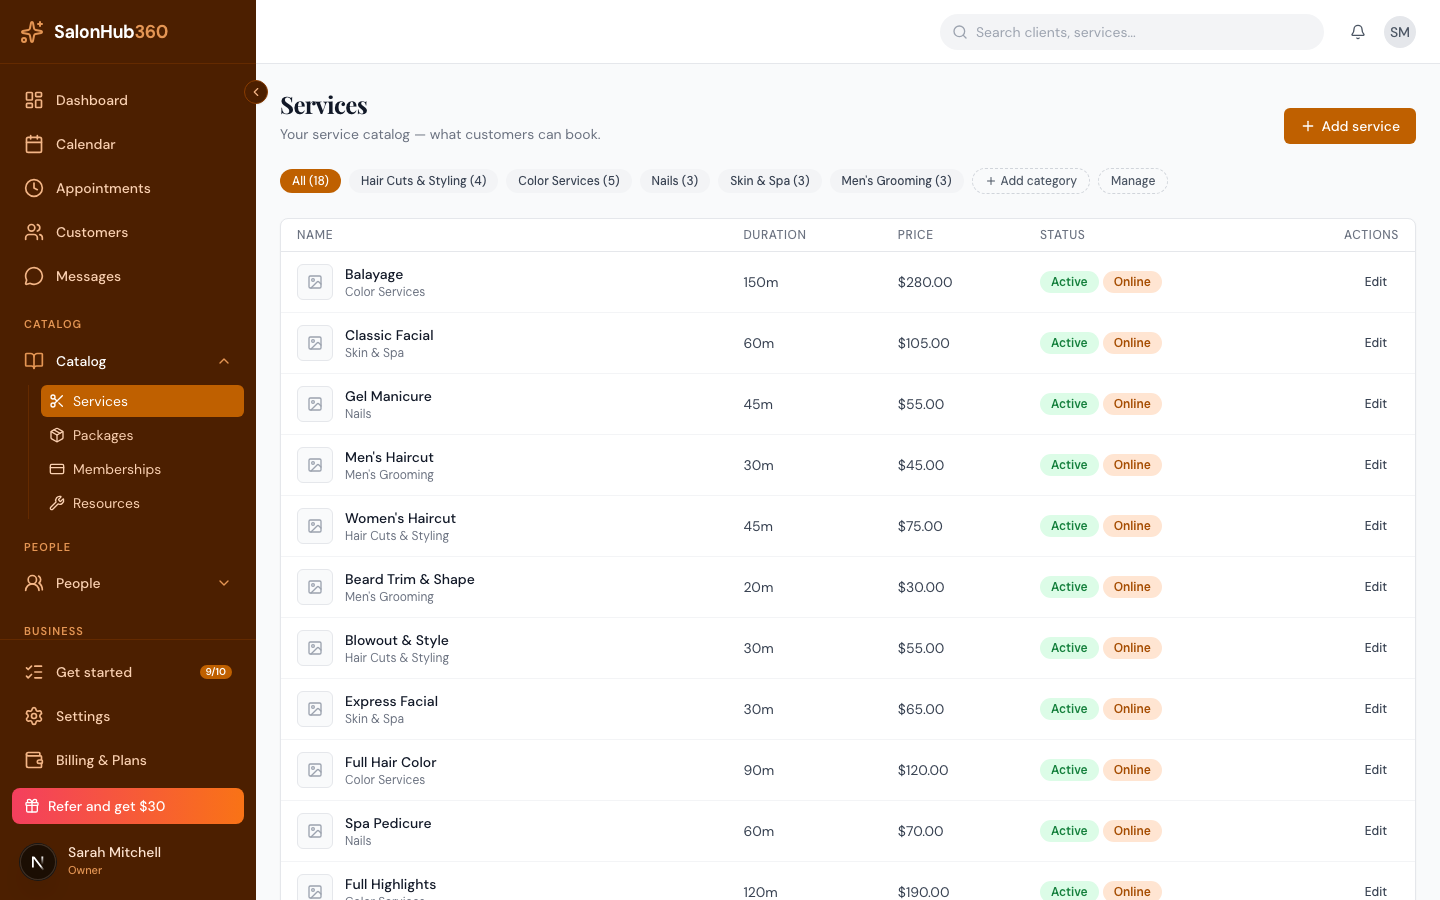
-
Click Create. Your service now appears in your list and on your booking page.
Organize with categories
Categories group your services so clients can filter your booking page. On the Services page, click Add category to create one, or Manage to rename, reorder, or delete existing categories. Assign a category to any service from its Basic details section.
Tip: To choose which team members can perform a service, see Assign services to staff.
Note: To make a service bookable but only by your staff (not clients), keep Active on and turn Available to book online off.
Related articles