
How to get booking-ready (setup checklist)
Requirements
- Available on: All plans
- Device access: Web & mobile browser
- Permission: Owner
After you sign up, the Get started checklist in your sidebar walks you step by step to "booking-ready." Work down the list — once the essential steps are done, your booking page goes live and the checklist hides itself automatically.
Find your checklist
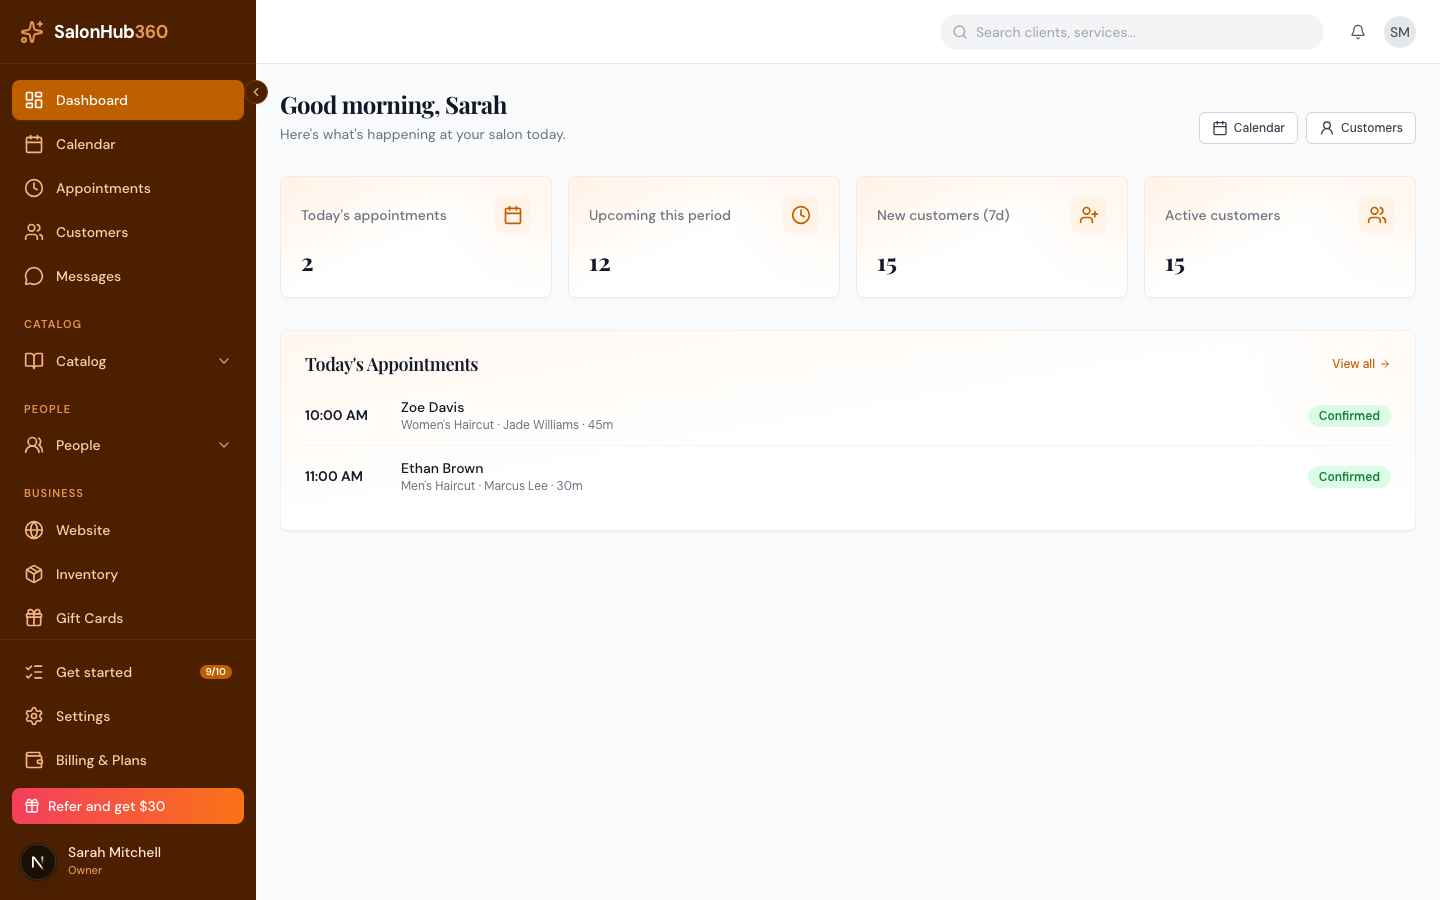
In the left sidebar, look for Get started with a progress badge (for example 9 / 10). Click it to open your setup checklist — each unfinished step is a link that takes you straight to where you complete it.
The steps, in order
Click any pending step to jump to it; a green check marks each one as you go.
- Complete your business profile — add your salon name, email, and phone so clients can reach you. (Settings → General.) See Set your business name, time zone & logo.
- Add a location — create at least one active location. (Settings → Locations.)
- Set business hours — set opening hours for your location so slots can be generated. (Settings → Locations.)
- Add an online-bookable service — create a service with Accept online bookings turned on.
- Assign services to staff (optional) — restrict specific services to specific staff. If you skip this, every active staff member can perform every service.
- Assign staff to a location — open a staff member's profile and tick the location(s) they work at.
- Set a staff schedule — add weekly working hours for at least one staff member.
- Review booking settings — confirm your lead time, confirmation mode, and client requirements. (Settings → Booking.)
- Publish your salon website — launch your public site (available on Starter and above; this step is skipped on plans without the Website Builder).
- Start getting paid — set up SalonHub360 Payments so you can accept cards and receive payouts. See How to set up SalonHub360 Payments.
Note: Assign staff to a location (step 6) is the step owners miss most. A staff member with no location assigned is invisible to the booking engine — even if their schedule is set — so no time slots appear. If a date shows no availability, check this first.
Tip: Steps 1–7 (with step 5 optional) are the essentials that make your booking page go live. The rest — reviewing booking settings, publishing your website, and setting up payments — complete your setup. The checklist hides itself once every required step is done.
Related articles