
How to add social messaging buttons
Requirements
- Available on: Starter plan and above
- Device access: Web & mobile browser
- Permission: Owner or Manager
Let clients message your salon in one tap — by text, Facebook Messenger, or Instagram — and reply from the inbox you already use. No extra app or connection required.
Overview
These are link-based buttons: a client taps one and it opens their own messaging app addressed to you. You reply from your normal phone, Facebook, or Instagram inbox. You can show the buttons in a dedicated website section, as a floating button on every page, or both.
How to set up messaging buttons
-
In the left menu, open Website, then click the Messaging tab. Find the Facebook & Instagram messaging card.
<!-- CAPTURE: route=/website | login=owner | state=Messaging tab open, messaging card visible | highlight=Facebook & Instagram messaging card | viewport=1440x900 -->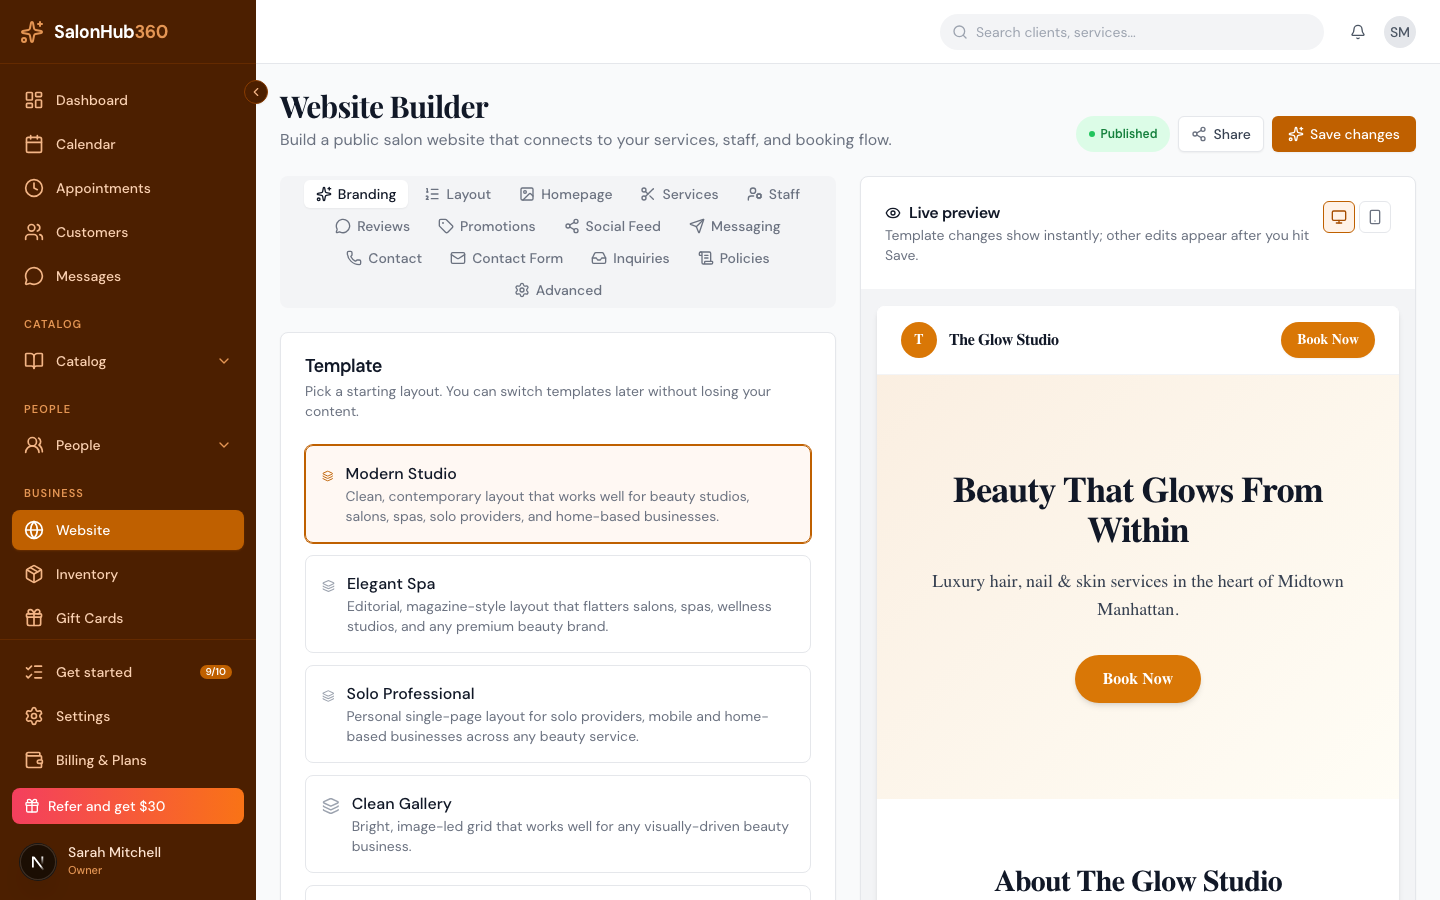
-
Turn on the channels you want and add your details for each:
- Enable Text Messaging — add your phone number; clients get a Text Us button.
- Enable Facebook Messenger — paste your Facebook page link or username.
- Enable Instagram DM — paste your Instagram link or handle.
<!-- CAPTURE: route=/website | login=owner | state=Messaging tab, channels enabled | highlight=channel toggles and inputs | viewport=1440x900 -->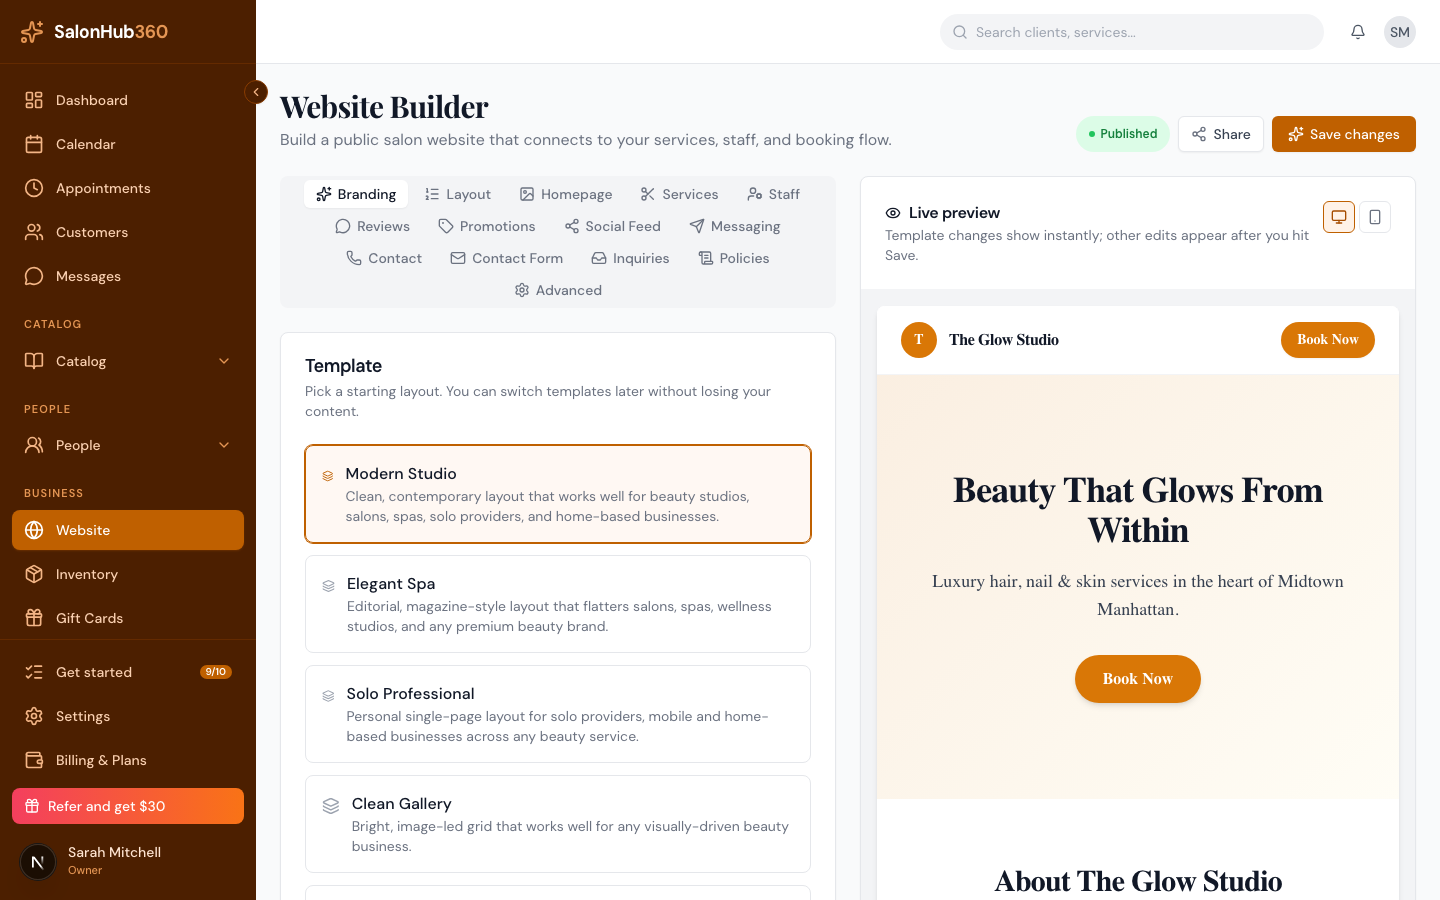
-
(Optional) Add a Greeting — a short line shown above the buttons on your site, like "Questions? Send us a message."
-
Choose where the buttons appear:
- Turn on the "Message Us" website section to add a messaging block to your page (reorder it on the Layout tab).
- Turn on the Floating "Message us" button to show a button in the corner of every page, including your booking page.
-
Click Save changes.
Note: A channel only appears on your live site when it's enabled and has a valid link or number. If none qualify, the section and floating button stay hidden automatically.
Tip: Prefer a structured form instead? Turn on the Contact Form section and track replies in Manage contact-form inquiries.
Related articles