
Set up birthday email automation
Requirements
- Available on: Growth and above
- Device access: Web & mobile browser
- Permission: Owner or Manager
Send every client a warm, on-brand birthday greeting automatically — no reminders to set, no emails to write each time. Customize the message once, preview it, and switch it on.
Before you start
Birthday emails go out only to clients who have both a birthday and an email address on file. The page shows how many of your clients currently qualify. Adding birthdays to client profiles grows your reach.
How to set up birthday email automation
-
In the left menu, open Marketing, then open the Birthday Email card.
<!-- CAPTURE: route=/marketing/birthday | login=owner | state=settings loaded (Growth demo) | highlight=Birthday Email heading | viewport=1440x900 -->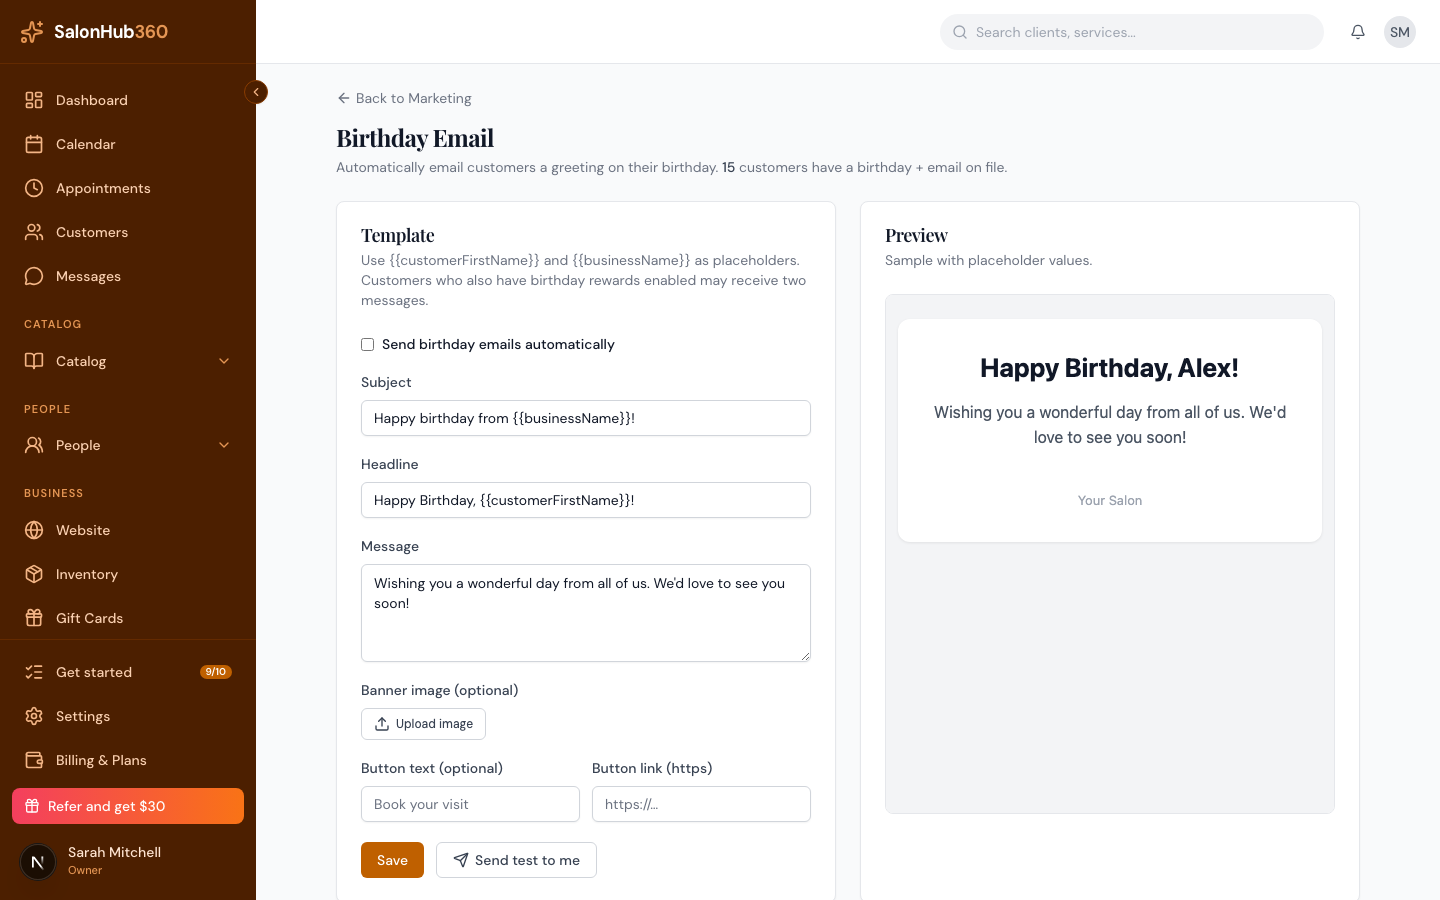
-
In the Template card, fill in the Subject, Headline, and Message. To personalize the text, type the placeholders
<!-- CAPTURE: route=/marketing/birthday | login=owner | state=template fields filled | highlight=Subject/Headline/Message fields | viewport=1440x900 -->{{customerFirstName}}and{{businessName}}— they're swapped for each client's first name and your salon name when the email sends.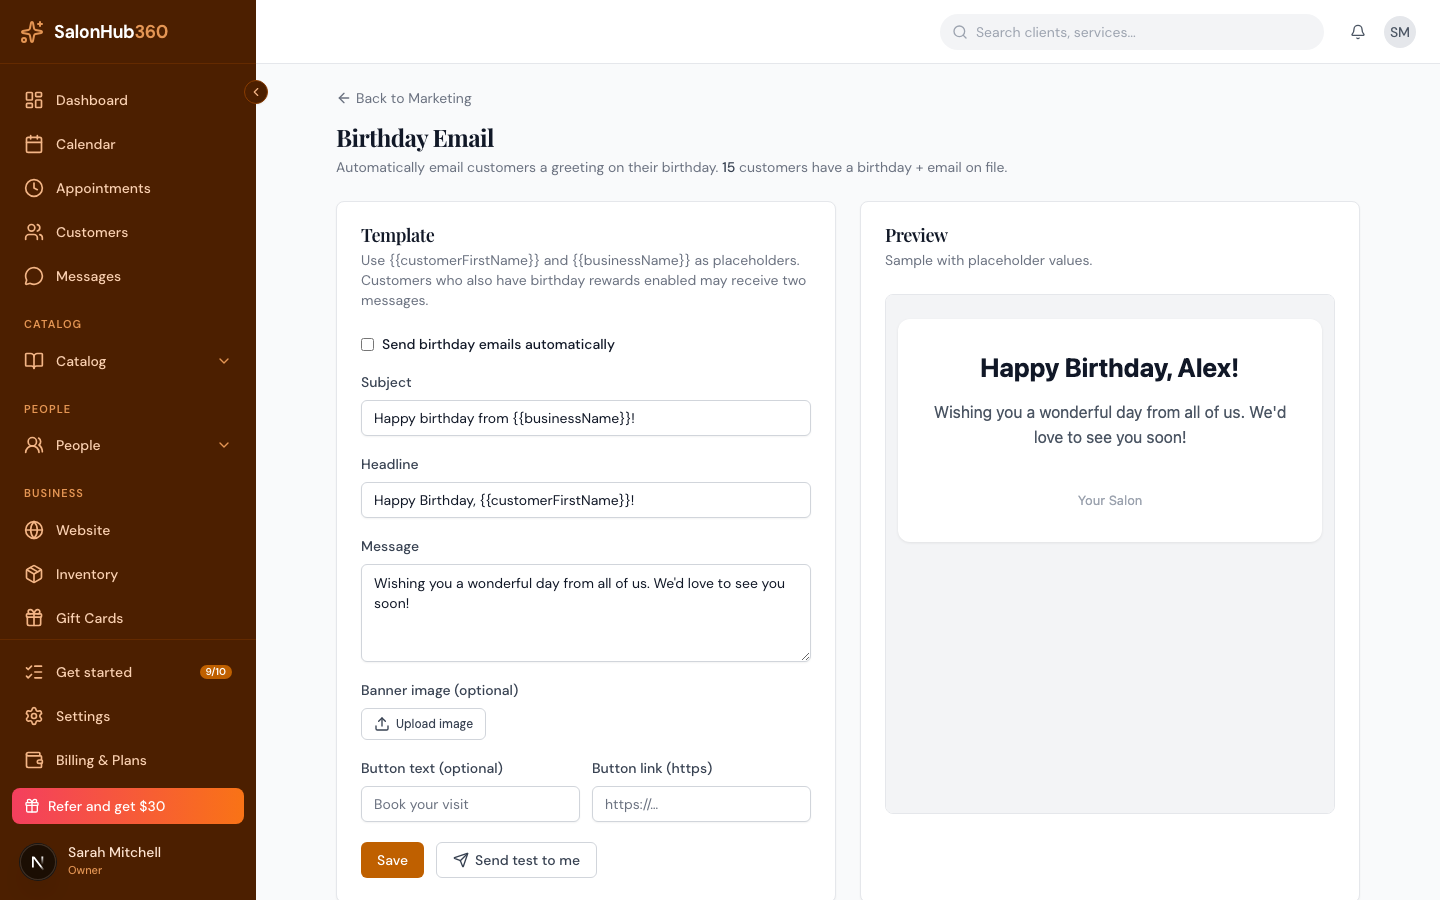
-
(Optional) Click Upload image to add a banner at the top of the email, and add a call-to-action by filling in Button text and Button link (https) — for example, a link to your booking page.
<!-- CAPTURE: route=/marketing/birthday | login=owner | state=image + CTA set | highlight=Upload image / Button link fields | viewport=1440x900 -->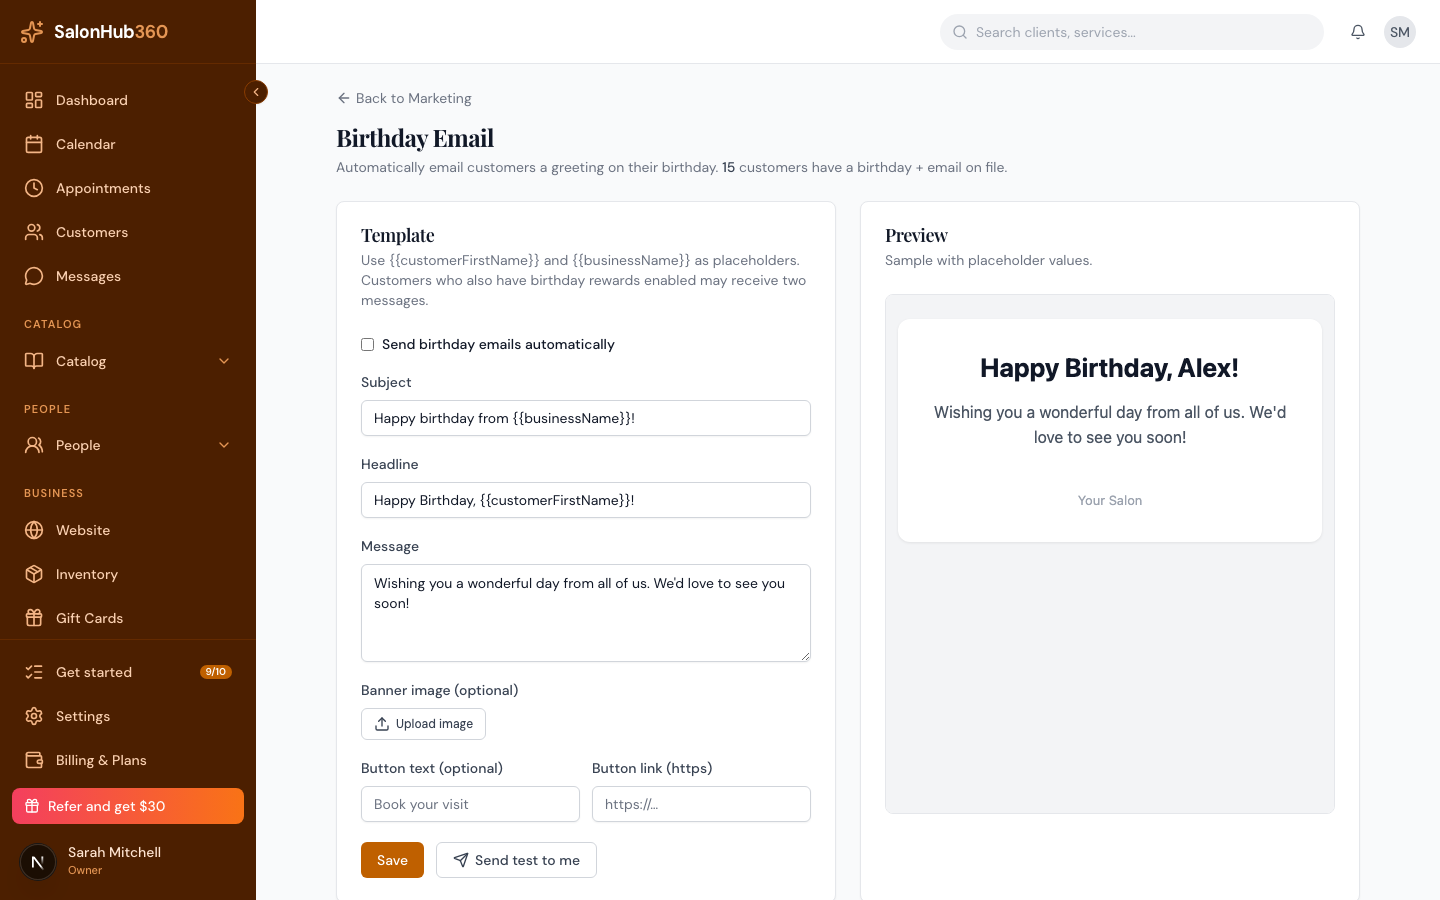
-
Check the Preview pane on the right — it shows your email with sample values so you can see exactly how it'll look.
<!-- CAPTURE: route=/marketing/birthday | login=owner | state=preview populated | highlight=Preview pane | viewport=1440x900 -->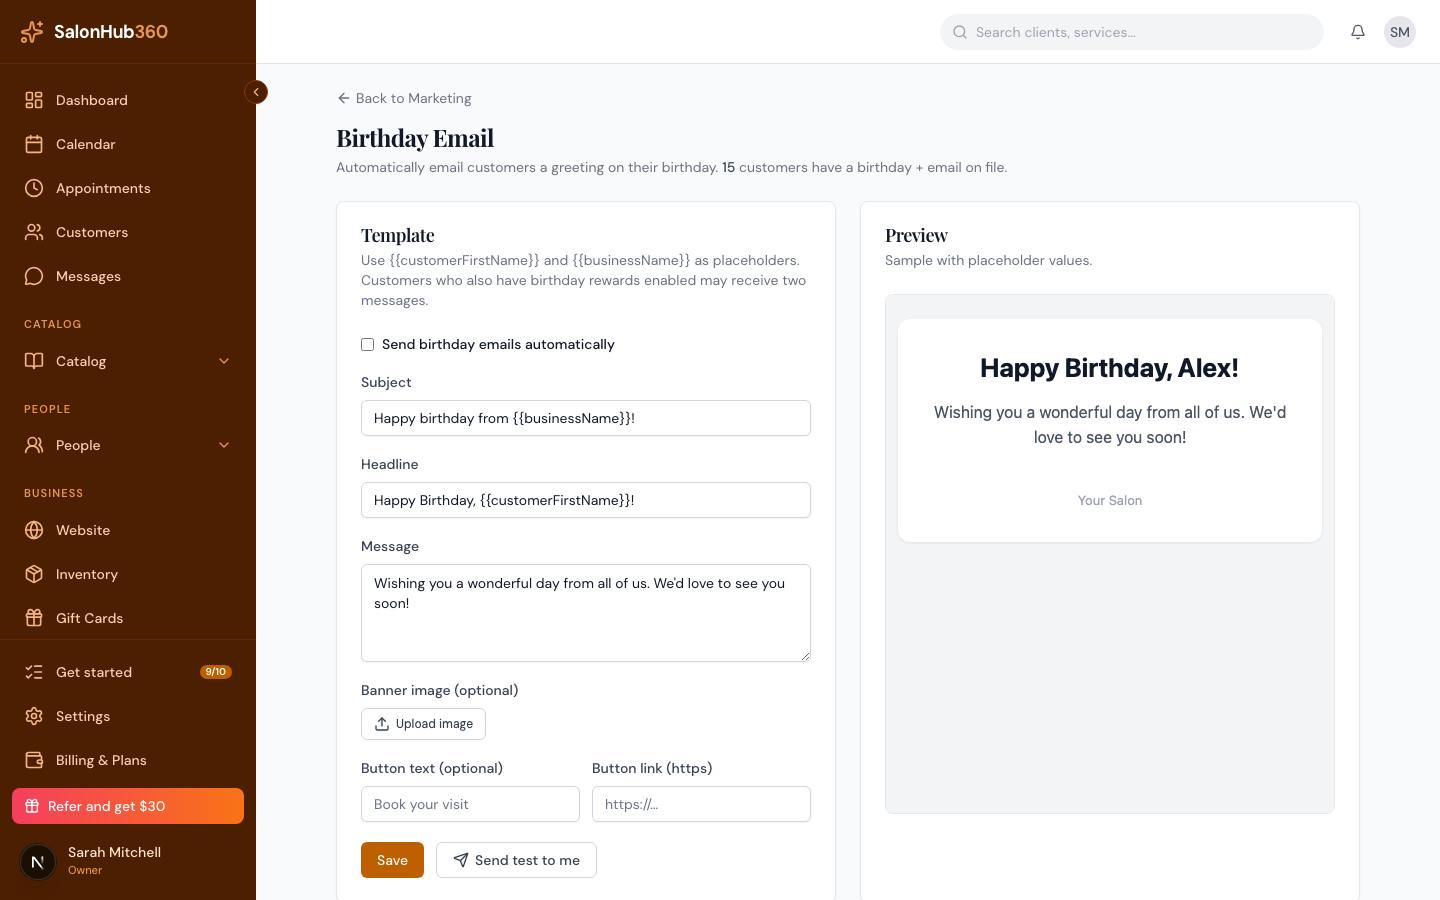
-
Click Send test to me to email a copy to your own address and confirm it looks right in a real inbox.
-
Click Save, then tick Send birthday emails automatically to turn the automation on.
<!-- CAPTURE: route=/marketing/birthday | login=owner | state=enabled + saved | highlight=Send birthday emails automatically checkbox | viewport=1440x900 -->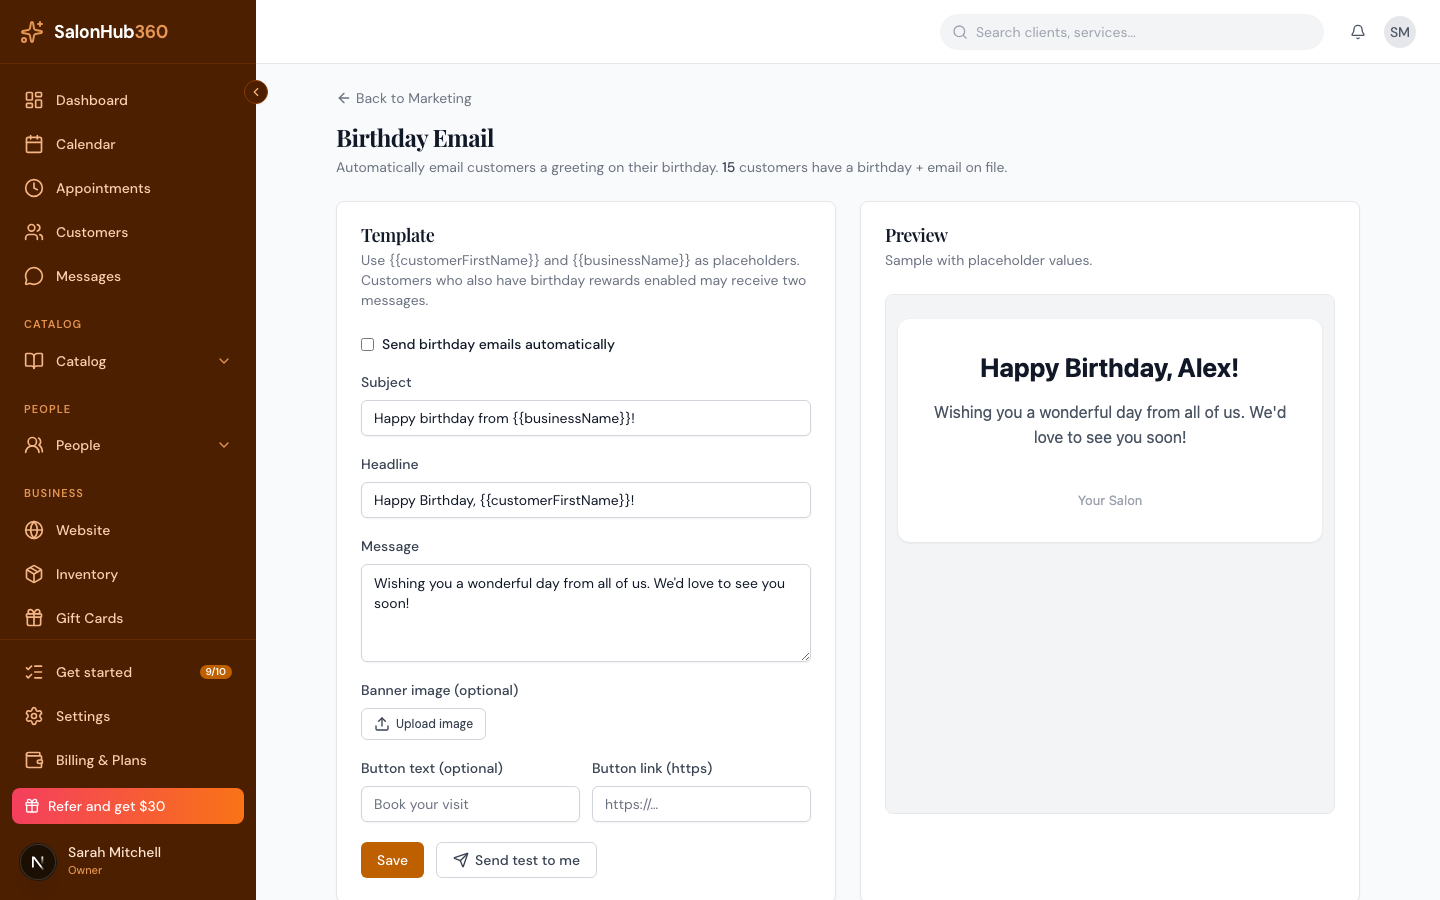
Note: Birthday email is part of the Marketing feature, available on the Growth plan and above. On lower plans you'll see a prompt to upgrade. The Button link must start with
https://.
Tip: Clients who also have birthday rewards turned on may receive a separate stamp-card perk — see Birthday rewards automation.
Related articles