
How to add & manage clients
Requirements
- Available on: All plans
- Device access: Web & mobile browser
- Permission: Owner or Manager (any staff with the client-management permission)
Add a new client, edit an existing one, and search your list — all from the Customers page. Clients who book online are added here automatically, so you'll mostly use this when someone calls, walks in, or you're importing your existing book.
How to add a client
-
In the left menu, open Customers, then click Add customer in the top right.
<!-- CAPTURE: route=/customers | login=owner | state=list loaded | highlight=Add customer button | viewport=1440x900 -->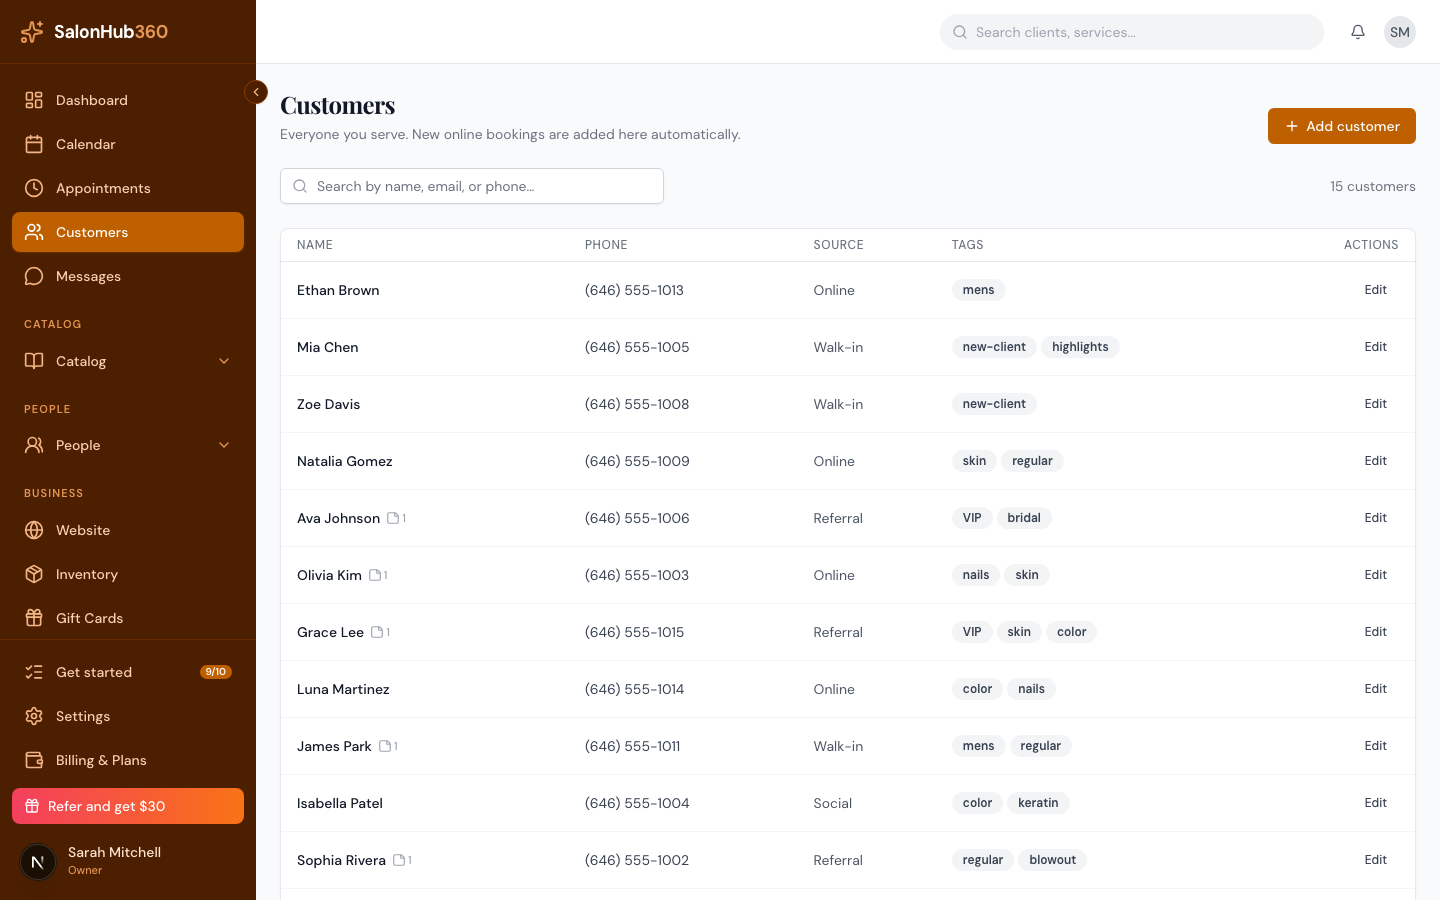
-
Fill in the client's details. First name and last name are required; email, phone, and birthday are optional but recommended for reminders and rewards.
<!-- CAPTURE: route=/customers | login=owner | state=Add customer dialog open | highlight=name and contact fields | viewport=1440x900 -->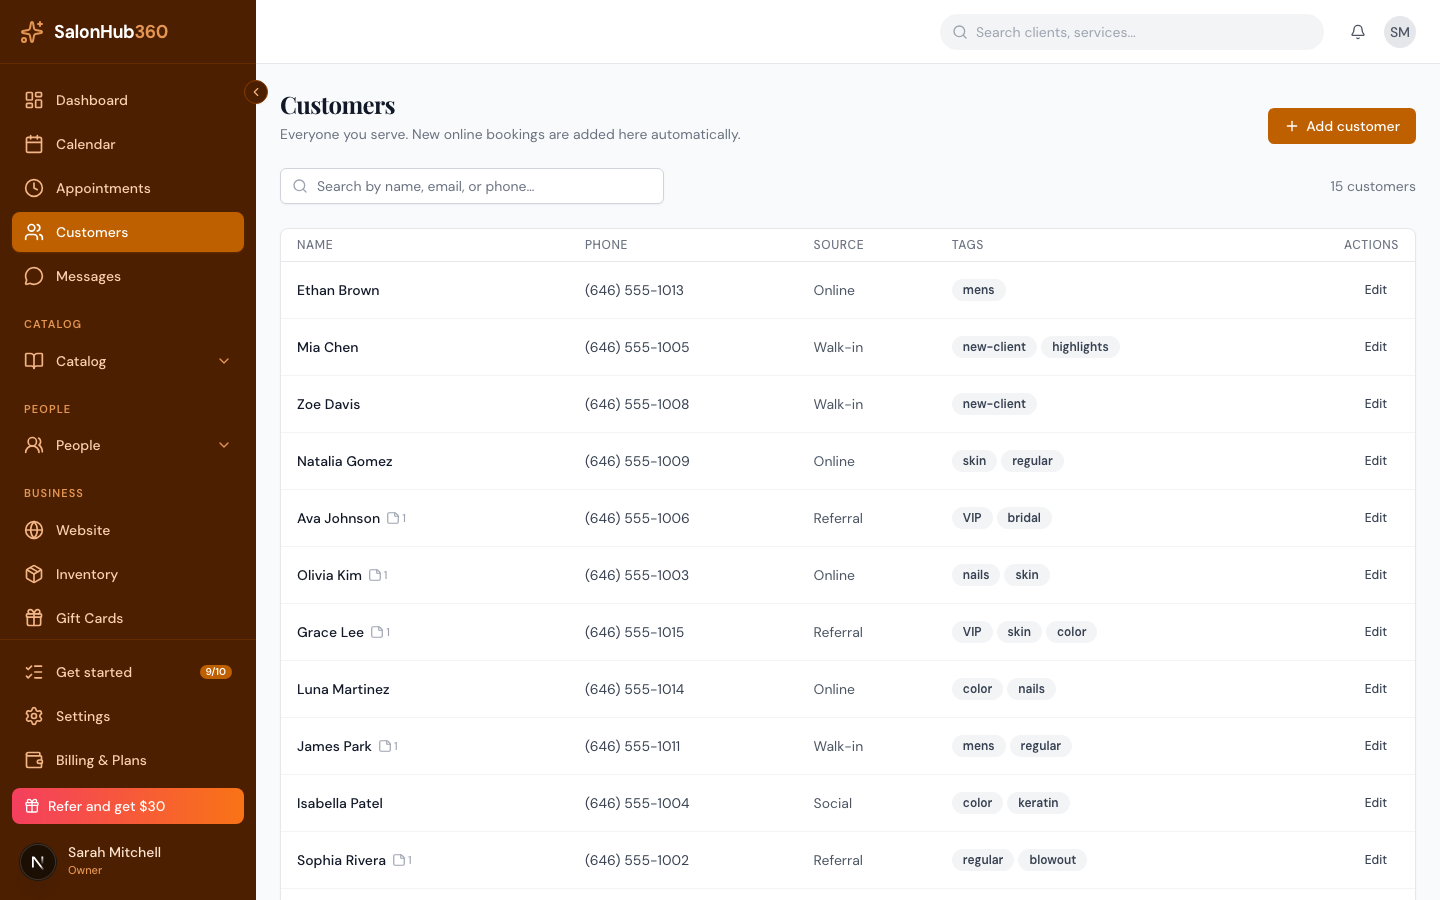
-
For the birthday, pick a Month and Day. The Year is optional — leave it blank if the client prefers not to share their age.
-
If the client has agreed to receive texts, tick Customer has consented to SMS notifications.
-
Add any Internal notes (for example, allergies or preferences). These are staff-only and never shown to the client.
-
Click Create. The client now appears in your list.
How to edit a client
-
On the Customers page, find the client (use the search box if needed) and click Edit on their row.
<!-- CAPTURE: route=/customers | login=owner | state=list loaded | highlight=Edit button on a row | viewport=1440x900 -->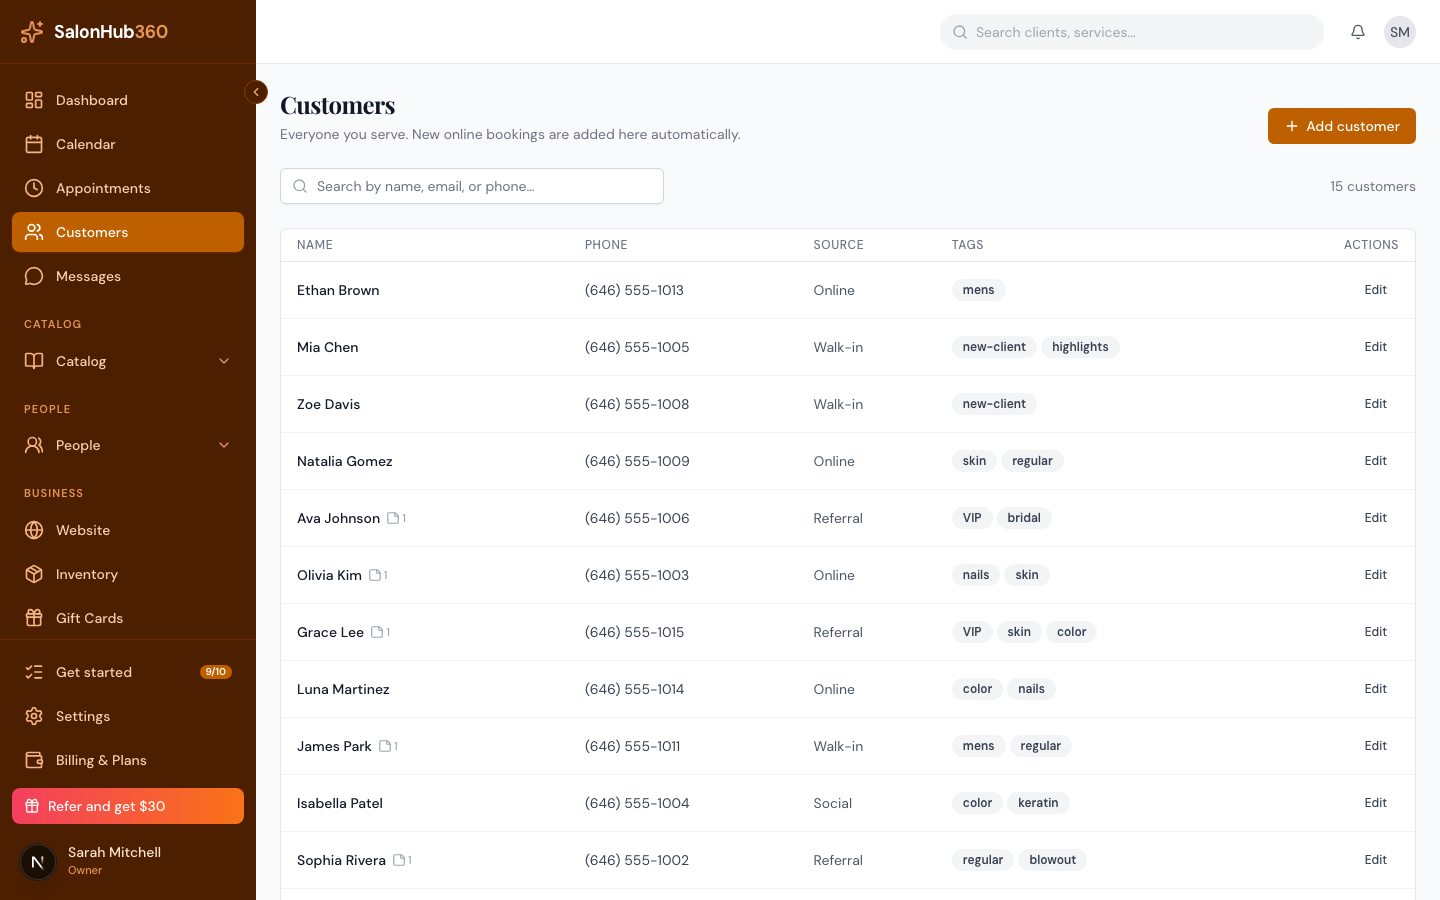
-
Update any field, then click Save.
How to find a client
Use the search box above the list to filter by name, email, or phone as you type. The count beside it shows how many clients match.
Note: Each row shows quick badges at a glance — a green Registered badge means the client has a SalonHub360 account (the one account they use to sign in and book at any SalonHub360 salon), a note icon shows how many notes are on file, and a red Banned badge means they're blocked from booking.
Tip: To open a client's full history, notes, packages, and rewards, click their row to open the detail panel — see Client profiles, notes & alerts.
Related articles