
How clients book on your page
Requirements
- Available on: All plans
- Device access: Web & mobile browser
- Permission: Owner or Manager
A walk-through of what your clients see when they book online, so you know exactly what they experience — and what reaches your calendar.
Overview
When a client opens your booking page, they move through a short, guided flow. Each step appears one at a time, and a progress bar shows how far along they are. Everything — dates, times, and availability — is shown in your salon's time zone.
The six steps a client takes
-
Choose a location. If your salon has more than one location, the client picks where they want to come in. If you have only one, this step is skipped automatically.
<!-- CAPTURE: route=/book/glow-studio | login=none | state=location step (multi-location tenant) | highlight=location cards | viewport=1440x900 -->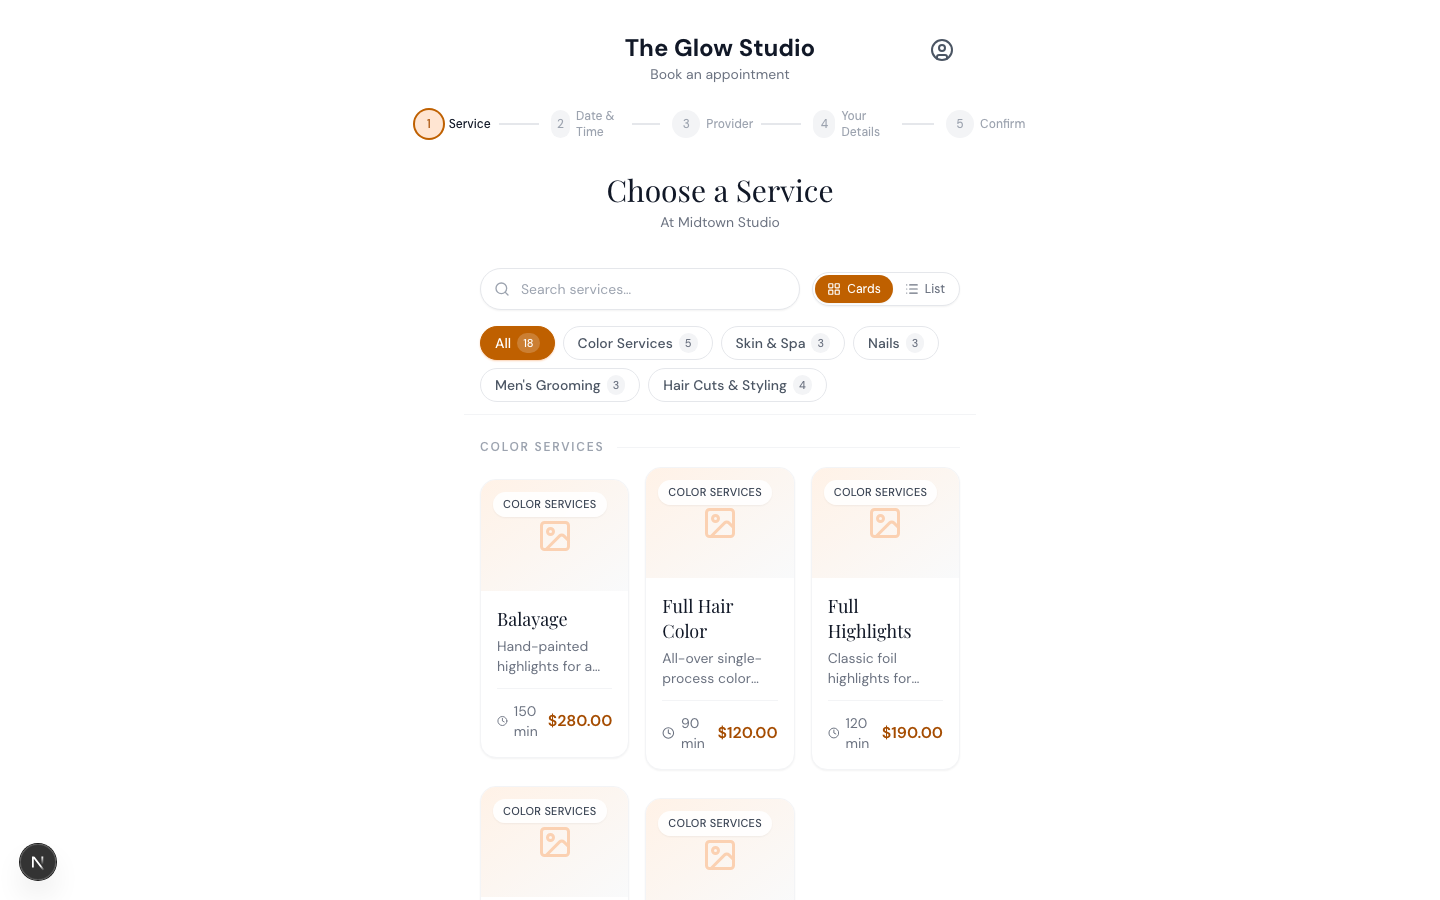
-
Choose a service. The client selects what they're coming in for — they can pick up to five services in one visit. Prices and durations show on each service (unless you've hidden prices). They tap Continue to move on.
<!-- CAPTURE: route=/book/glow-studio | login=none | state=service step, one service selected | highlight=Continue button | viewport=1440x900 -->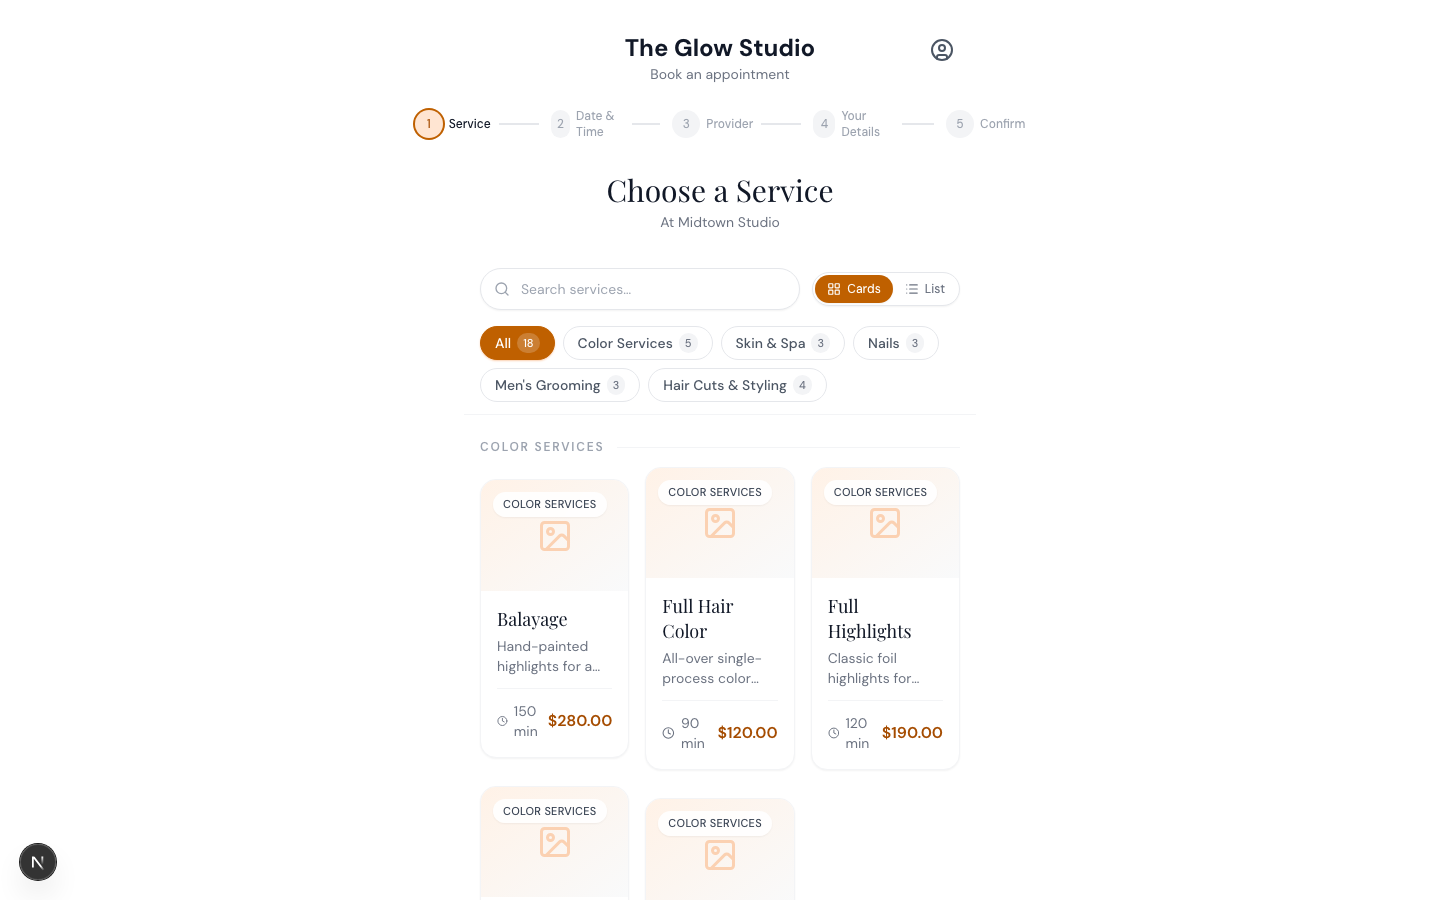
-
Pick a date & time. The client chooses a day, then an available start time. Only times that fit your lead time, same-day cutoff, and existing schedule appear — and the calendar only goes as far ahead as your maximum booking window.
<!-- CAPTURE: route=/book/glow-studio | login=none | state=datetime step, slots visible | highlight=available time slots | viewport=1440x900 -->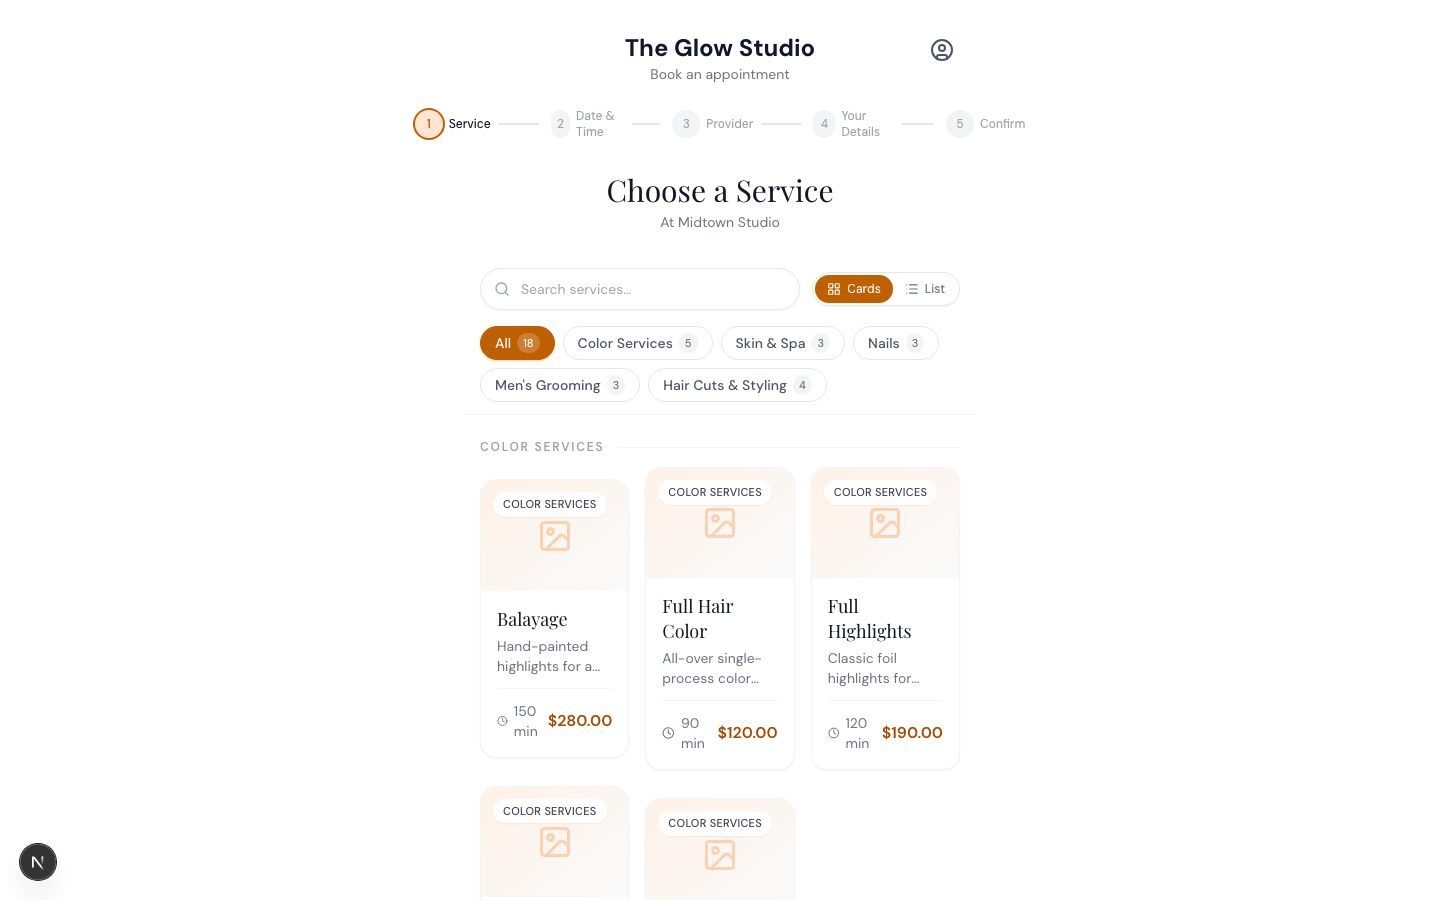
-
Choose a provider. The client picks Any Available Provider (you assign the best fit) or a specific team member. Only staff who can perform the chosen services at that time are shown.
<!-- CAPTURE: route=/book/glow-studio | login=none | state=provider step | highlight=Any Available Provider card | viewport=1440x900 -->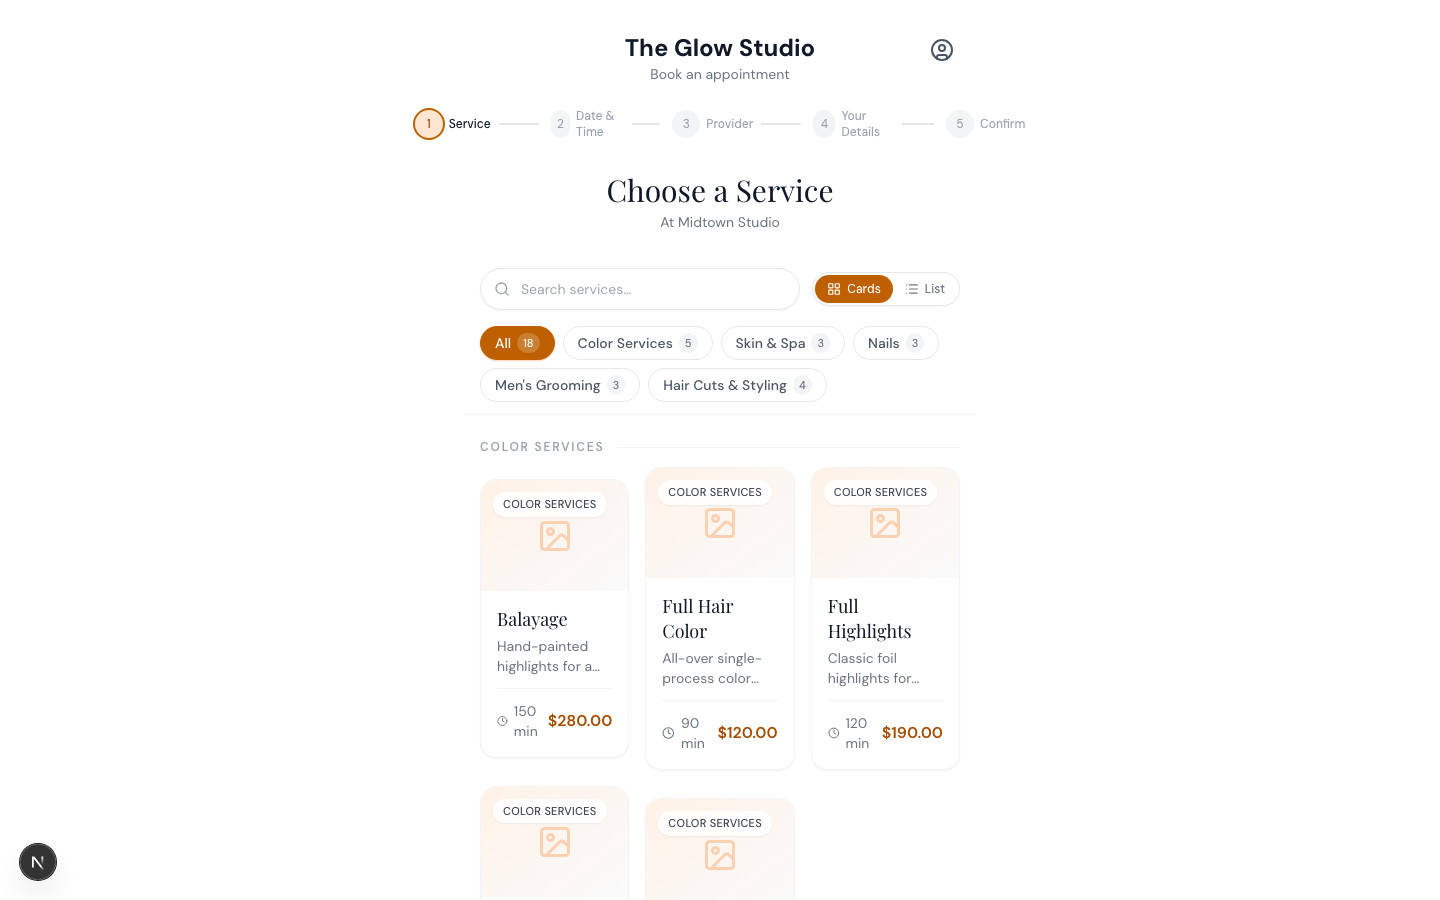
-
Enter details. The client enters their phone number first; if they've booked before, we recognize them and fill in the rest. New clients add their first name, last name, email, and optional notes, then tap Review Booking.
<!-- CAPTURE: route=/book/glow-studio | login=none | state=details step, fields revealed | highlight=details form | viewport=1440x900 -->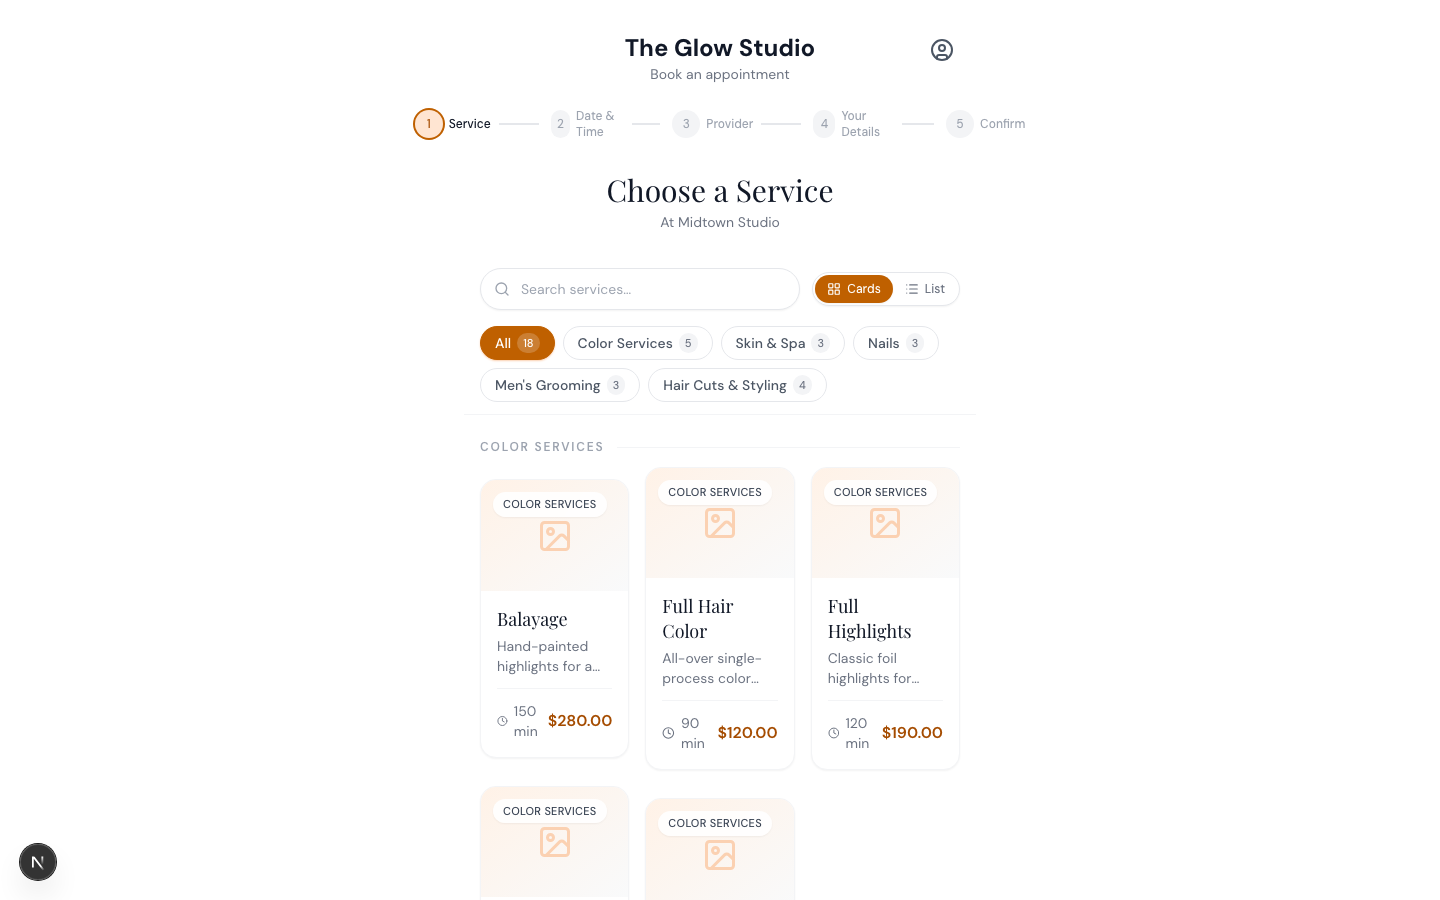
-
Review & confirm. The client sees a summary, agrees to your booking and cancellation policy, and taps Confirm Booking.
<!-- CAPTURE: route=/book/glow-studio | login=none | state=confirm step | highlight=Confirm Booking button | viewport=1440x900 -->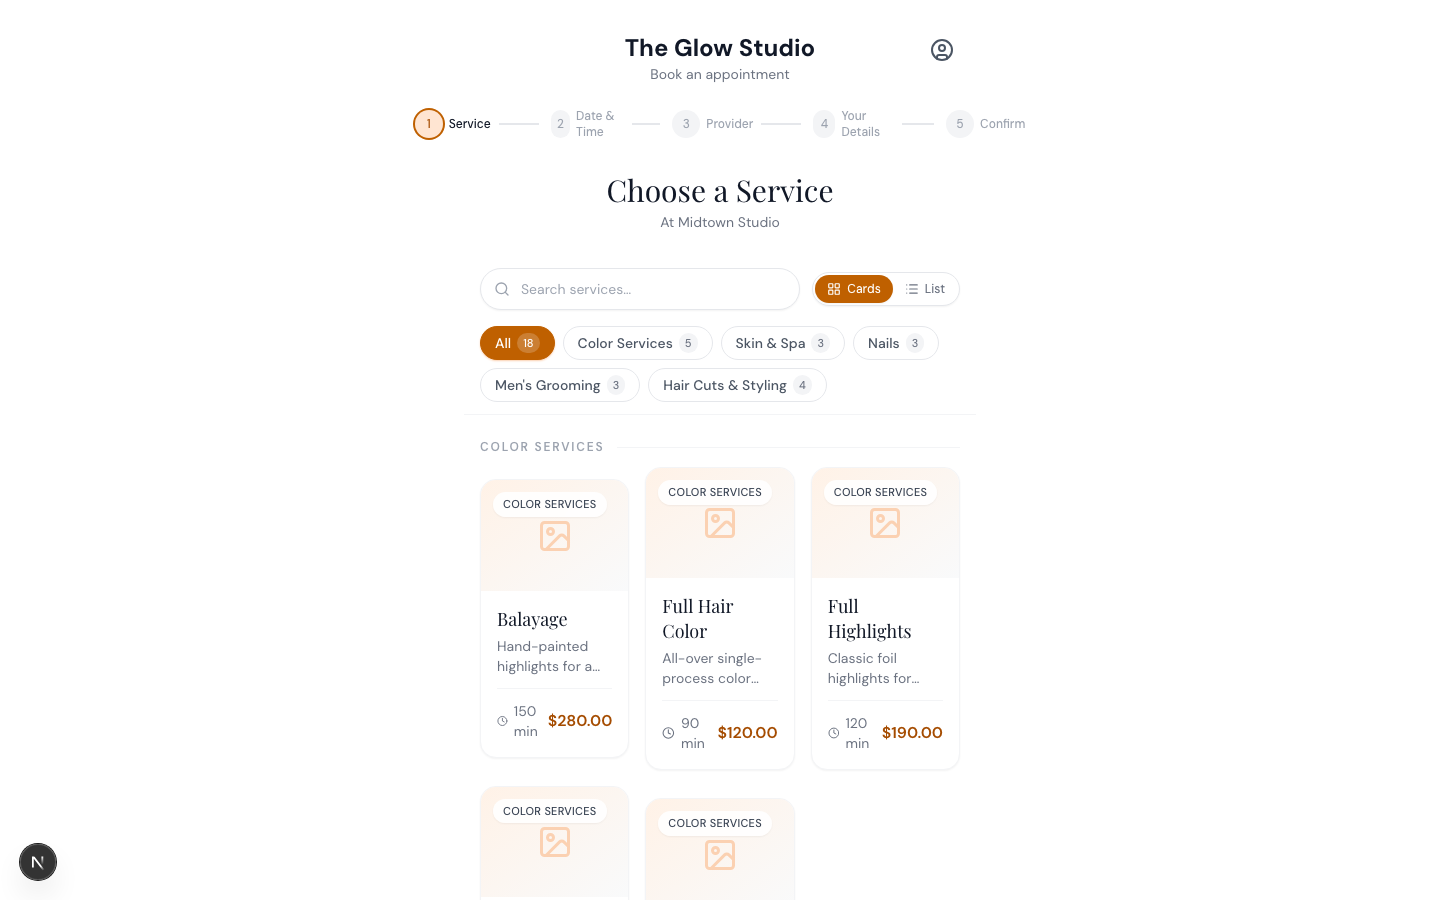
After they confirm, a Booking Received screen appears, and the appointment lands on your calendar.
Note: If you require approval for new clients, a first-time client's appointment arrives as Requested and waits for you to confirm it. See Require approval for new clients.
Tip: The review screen reminds clients of your cancellation policy and that new-client bookings may need your approval. Those details come straight from your Booking and Policies settings.
Related articles