
How to choose your booking service layout
Requirements
- Available on: All plans
- Device access: Web & mobile browser
- Permission: Owner or Manager
Pick how services are displayed when you and your team add an appointment or check someone in — choose the style that's fastest for your front desk or chair-side iPad.
Overview
The service layout controls the in-app booking experience for staff — it appears in the New appointment drawer and on the Work Screen. (It does not change your public booking page.) There are four layouts to choose from:
| Layout | Best for |
|---|---|
| Search-first (Default) | Type to filter the full service list. Fast on keyboard and touch. |
| Tap tiles (Touch) | Big, thumb-friendly tiles grouped by category. Best for iPads. |
| Two-pane (Big menus) | Categories pinned on the left, services on the right. Scales to long menus. |
| Command palette (Power user) | Search-driven keyboard flow. Fastest for keyboard pros. |
How to choose your service layout
-
In the left menu, open Settings, then select the Appearance tab.
<!-- CAPTURE: route=/settings | login=owner | state=Appearance tab open, Service layout card visible | highlight=Appearance tab | viewport=1440x900 -->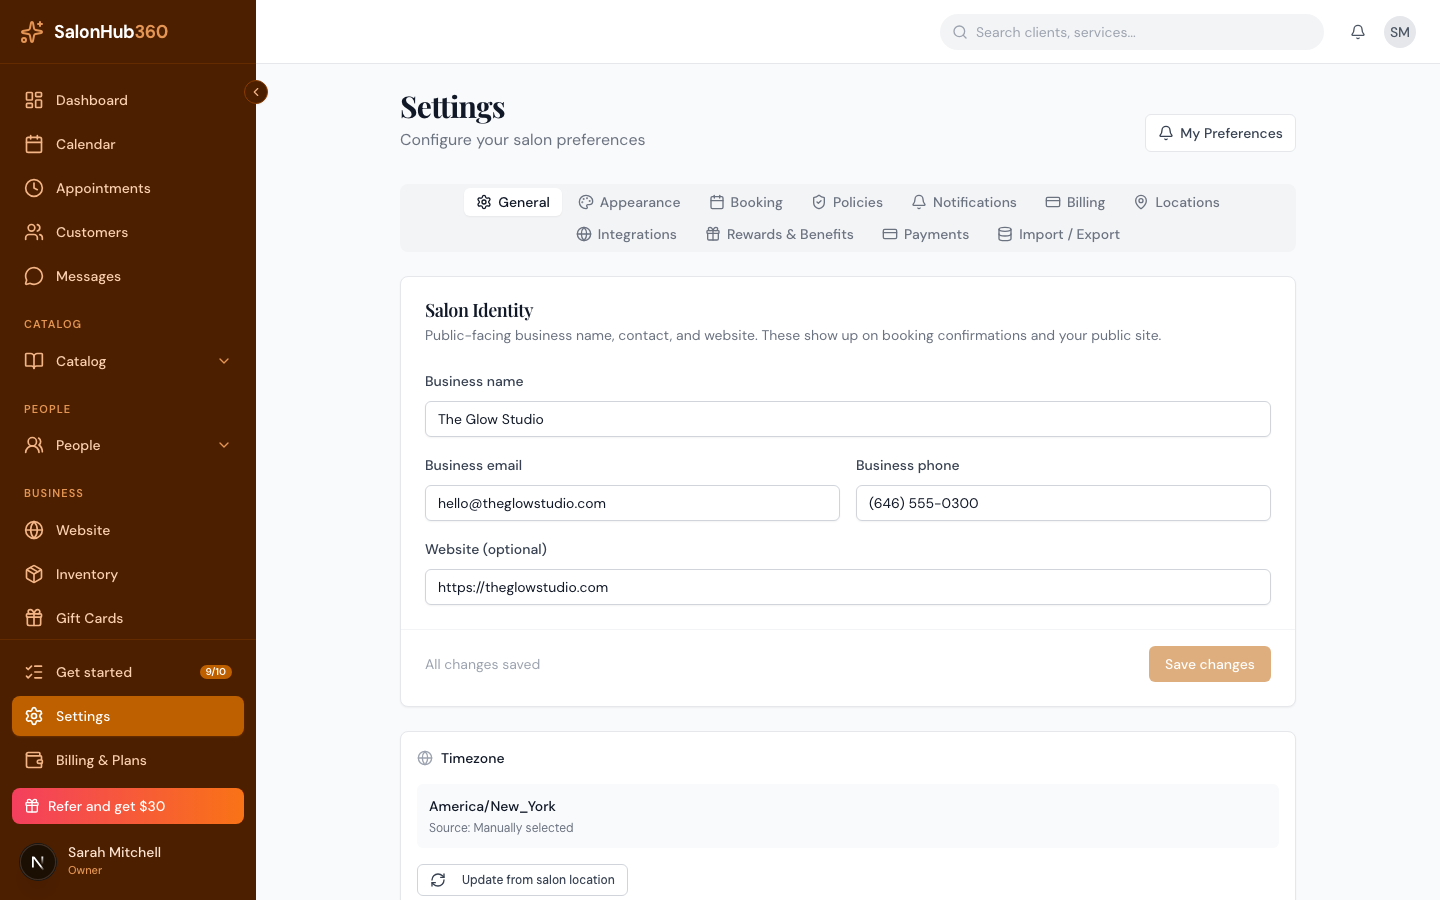
-
In the Service layout card, click the layout you want. Each option shows a small preview and a short description of what it's best for.
<!-- CAPTURE: route=/settings | login=owner | state=Service layout card, Tap tiles selected | highlight=four layout options | viewport=1440x900 -->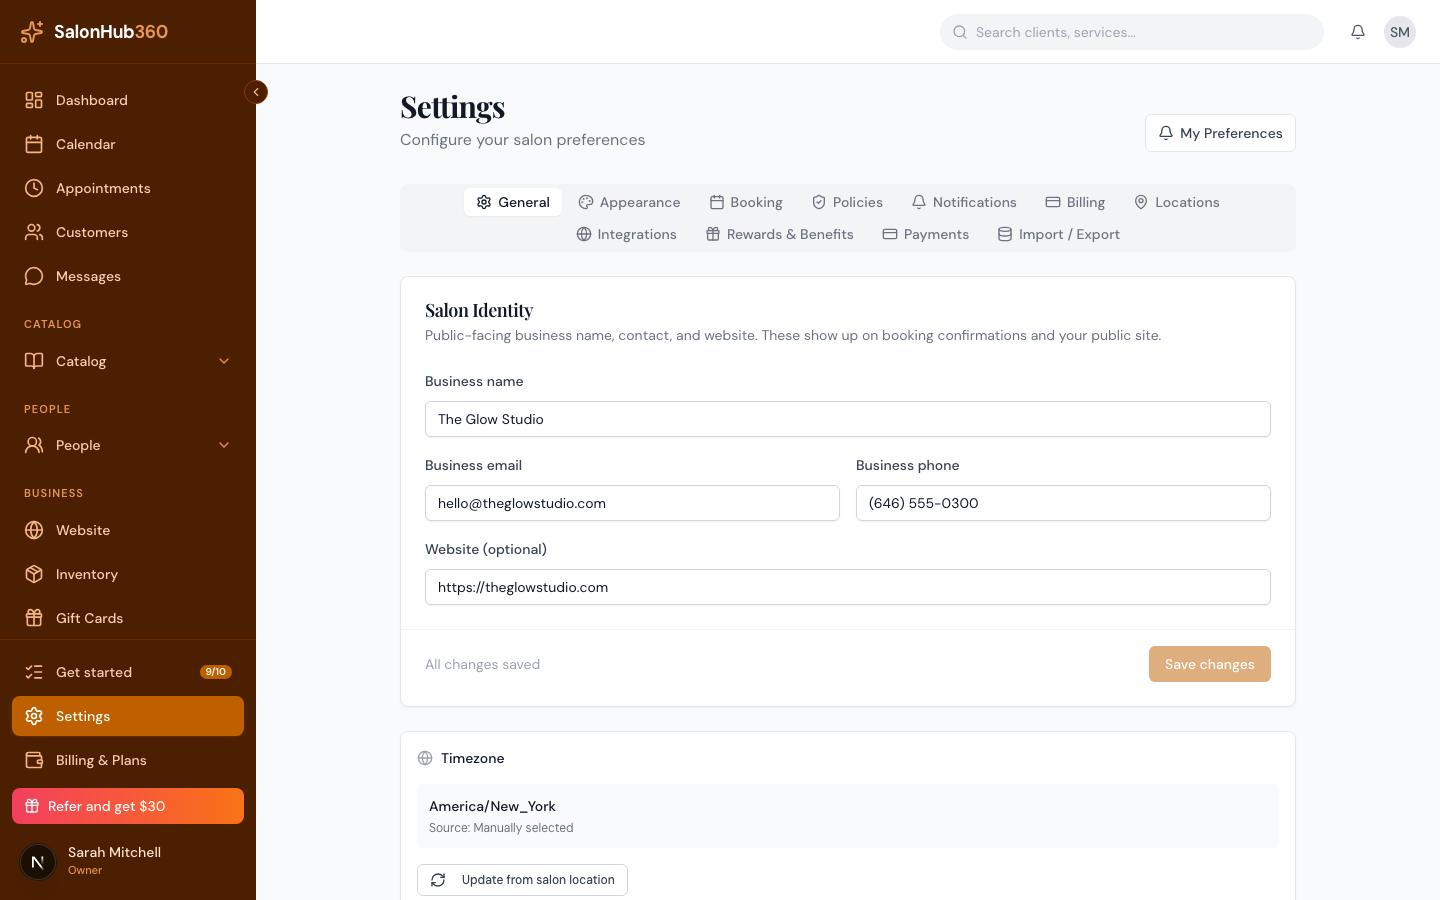
-
Your choice saves and applies across the dashboard for everyone on your team.
Note: This setting is salon-wide — it changes the layout for all staff, not just you. It affects the in-app booking screens only; your clients' booking page is unaffected.
Tip: Running mostly on tablets at the front desk? Tap tiles gives the largest, easiest targets.
Related articles